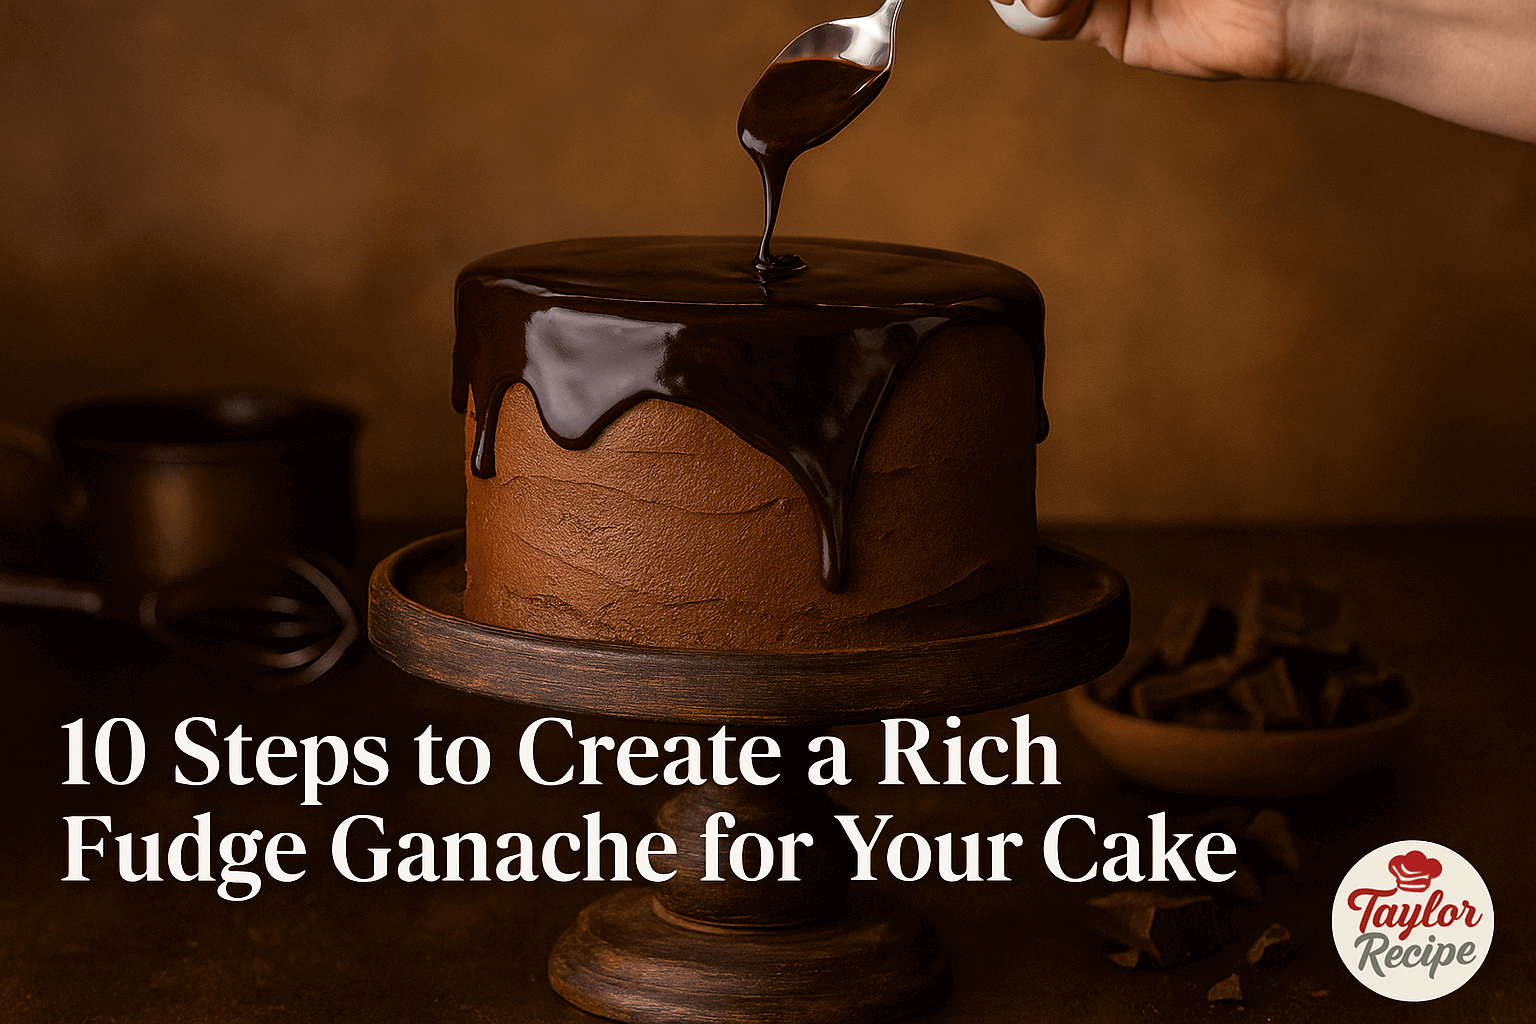
Hello lovely readers! If you adore chocolate and easy baking, you’re in the right place. In this guide we’ll walk you through 10 simple steps to make a rich fudge ganache for your cake. Ganache is just heavy cream and chocolate (yes, only two ingredients kingarthurbaking.com!), stirred into a glossy, velvety icing. Don’t worry if you’re new to this – we break down each step so even beginner bakers can follow along. By the end, you’ll have a decadent chocolate fudge glaze ready to pour over your favorite cake. (And yes, it’s naturally gluten-free if you use gluten-free chocolate – perfect for everyone!)
Ganache is incredibly versatile – think of it as a fancy chocolate frosting. It’s thicker and more chocolatey than a syrupy fudge sauce sallysbakingaddiction.com and it can be whipped, poured, or spread. Once you’ve mastered it, you can do fun things like drizzle it over anything from our Chocolate Chip Breakfast Cookies taylorrecipe.com to pancakes taylorrecipe.com or even swirl it into banana bread (try our Soft Banana Loaf taylorrecipe.com!). Now, let’s get started on that cake-worthy ganache.
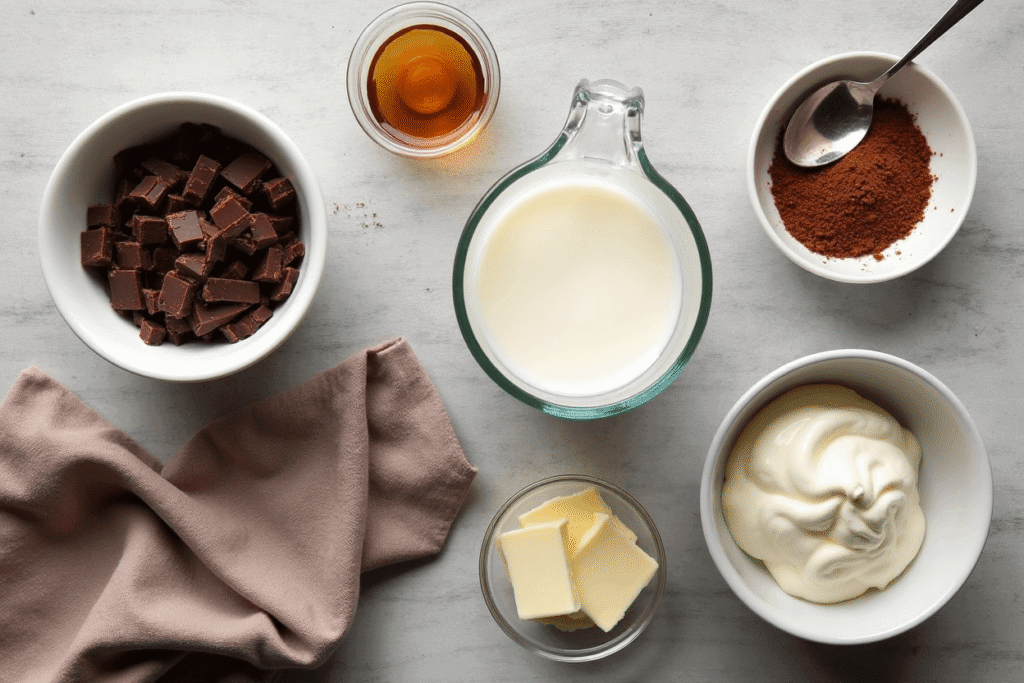
✅ Complete Ingredient List for Rich Fudge Ganache
Essential Ingredients:
- 8 oz (226 g) high-quality dark chocolate, chopped
- Recommended: 60–70% cocoa content
- Use baking bars or couverture chocolate for best results
- 1 cup (240 ml) heavy cream
- Must be full-fat heavy cream or heavy whipping cream
Optional Add-Ins (Customize to Taste):
- 1 tablespoon unsalted butter – for extra richness and smooth texture
- 1 teaspoon of pure vanilla extract – subtly deepens and rounds out the chocolate’s rich flavor.
- A pinch of sea salt – cuts through the sweetness and enhances the overall depth of flavor
- 1 teaspoon light corn syrup – optional, but it adds a glossy finish and keeps the ganache smooth and pourable
Dairy-Free/Vegan Alternative:
- Replace heavy cream with:
- 1 cup full-fat coconut milk or
- 3/4 cup coconut cream (for a thicker ganache)
These ingredients will yield a glossy, pourable, or spreadable rich fudge ganache—perfect for cakes, cupcakes, brownies, or even fruit dipping.
The 10 Steps to Create a Rich Fudge Ganache for Your Cake
Ready to transform your cake with a silky, chocolatey finish? These 10 easy steps will guide you through making a rich fudge ganache that’s perfect for pouring, spreading, or whipping—no advanced baking skills needed!
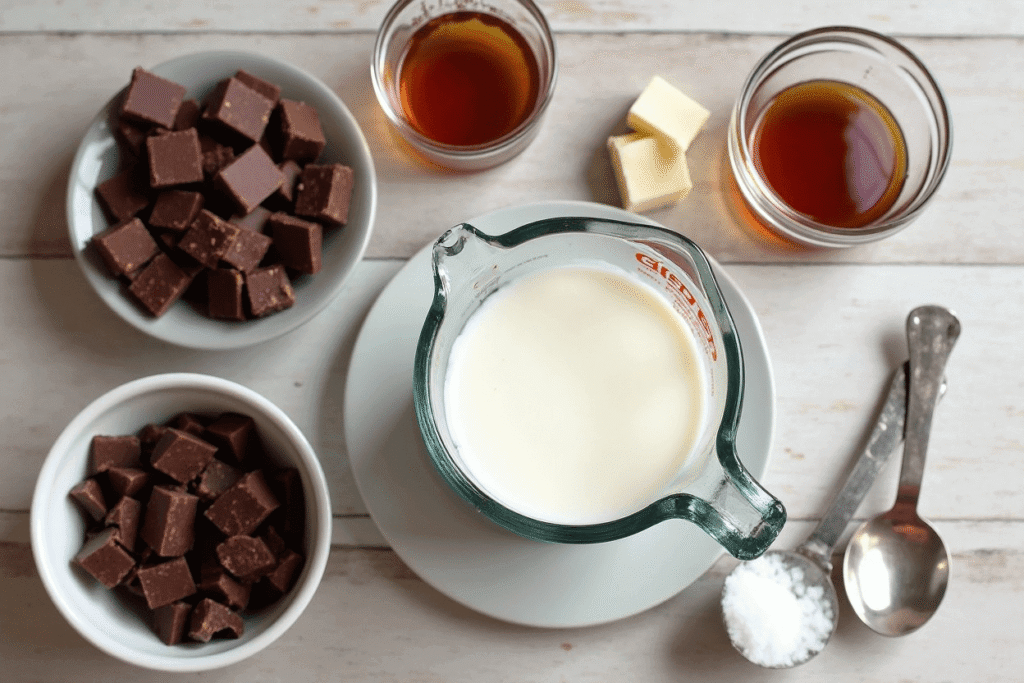
Step 1: Gather High-Quality Ingredients for a Rich Fudge Ganache
First, assemble your ingredients. You’ll need high-quality chocolate and heavy cream (or heavy whipping cream). For rich fudge ganache, we love using dark chocolate (60–70% cocoa) or semi-sweet chocolate bars. (Avoid milk chocolate – it’s sweeter and makes a thinner ganache kingarthurbaking.com.) Choose good baking bars or couverture chocolate (avoid chocolate chips if possible). Skip the milk or half-and-half—only heavy cream or whipping cream will give you the rich, velvety texture this recipe deserves sallysbakingaddiction.com. The rich fat content in heavy cream is what gives ganache its signature silky texture and irresistible glossy finish. Optionally, you can also gather a pat of butter or a spoonful of corn syrup (see Step 6), vanilla extract, and a pinch of salt. Great ingredients mean a more delicious ganache. Just like we use wholesome dark chocolate in our breakfast cookies taylorrecipe.com, we For the boldest flavor, choose high-quality chocolate—this is no place for shortcuts.
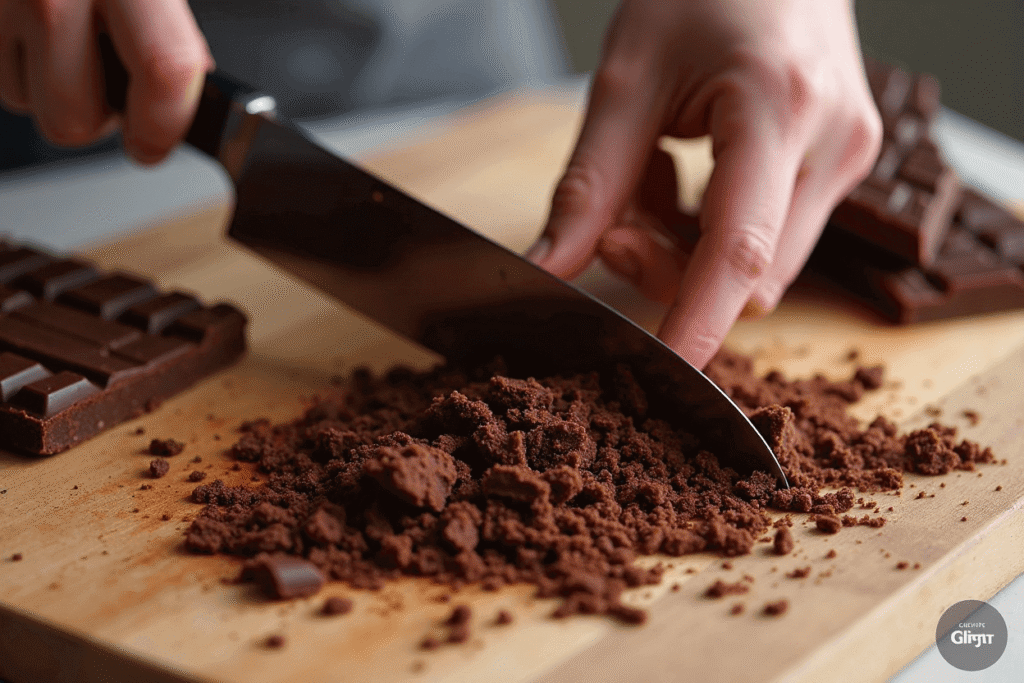
Step 2: Chop the Chocolate Finely for a Smooth Rich Fudge Ganache
Now chop your chocolate into small, even pieces. Finely chopping the chocolate helps it melt quicker and more evenly, creating a smoother ganache. Place the chopped chocolate into a heat-proof bowl. (If you have chocolate morsels or chips, those will work in a pinch, but premium bars are best.) Using a large serrated knife on a block of baking chocolate can save you time sallysbakingaddiction.com. Smaller pieces help you avoid any big chunks after mixing. Using chopped chocolate also lets you easily control ratios: for a standard pourable ganache, King Arthur’s test kitchen suggests using 8 oz (about 1 cup) chopped chocolate to 8 oz (1 cup) hot cream kingarthurbaking.com. For an extra fudgy ganache, you can simply add more chopped chocolate (which makes it thicker) or reduce the cream bbcgoodfood.com (BBC Good Food notes this trick). But we’ll start with the equal-weight method here, then adjust later if we want it thicker.
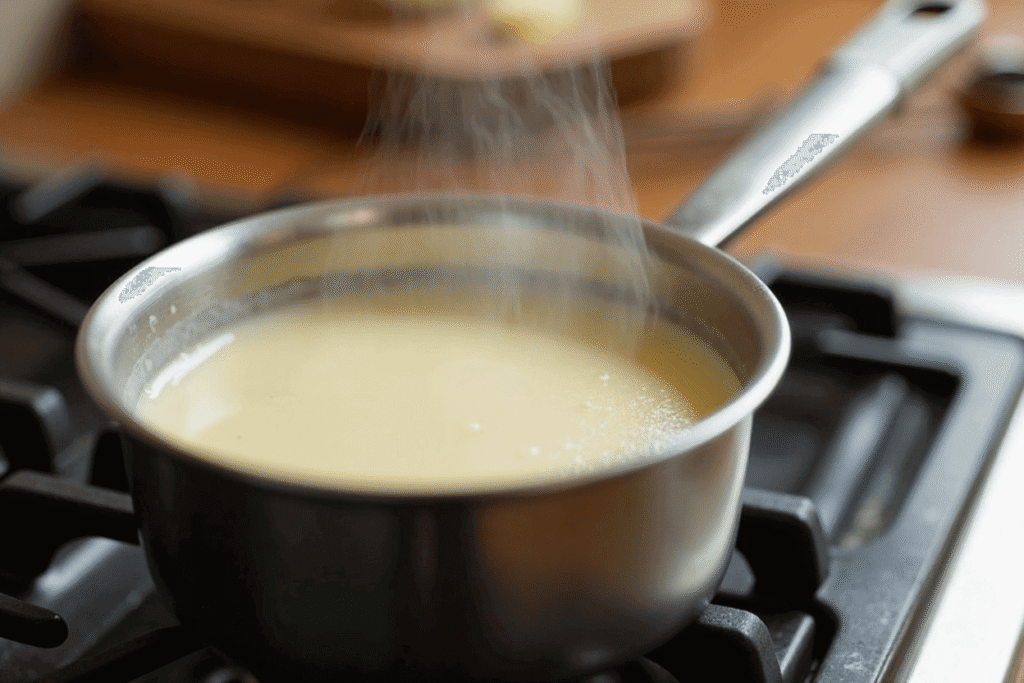
Step 3: Warm the Cream to Infuse Flavor into Your Rich Fudge Ganache
Warm the heavy cream until it’s steaming and nearly bubbling—right on the edge of a simmer, but not quite boiling. You can do this in a small saucepan over medium-low heat or in the microwave. As soon as you see tiny bubbles forming at the edges (a light simmer), remove it from heat kingarthurbaking.com. If you let it boil, the cream might scald or separate. While the cream warms, you can stir in extra flavorings – a tiny pinch of salt (to balance sweetness), a splash of vanilla, or even a spoonful of espresso or liqueur if you like. Some recipes add a tablespoon of butter or a bit of corn syrup to the cream now for extra richness and shine kingarthurbaking.com. (Butter makes the ganache silkier, and corn syrup gives it a beautiful gloss and flexibility.) Stir these in so everything’s melted and evenly hot. When your cream is ready, move quickly to the next step – timing is key!
Step 4: Pour Cream Over Chocolate and Let Sit
Pour the hot cream (and any melted butter or syrup) over the chopped chocolate in your bowl. Do not stir immediately. Let it sit undisturbed for about 3–5 minutes kingarthurbaking.com. This resting time lets the heat of the cream soften and melt the chocolate gently. You’ll see the chocolate pieces getting glossy and soft as you wait. (Imagine how the warm chocolate ganache in our breakfast pancakes is just setting – that’s what’s happening here taylorrecipe.com!) This simple act – heating cream, pouring, and waiting – is exactly how professional bakers describe making ganache kingarthurbaking.com.
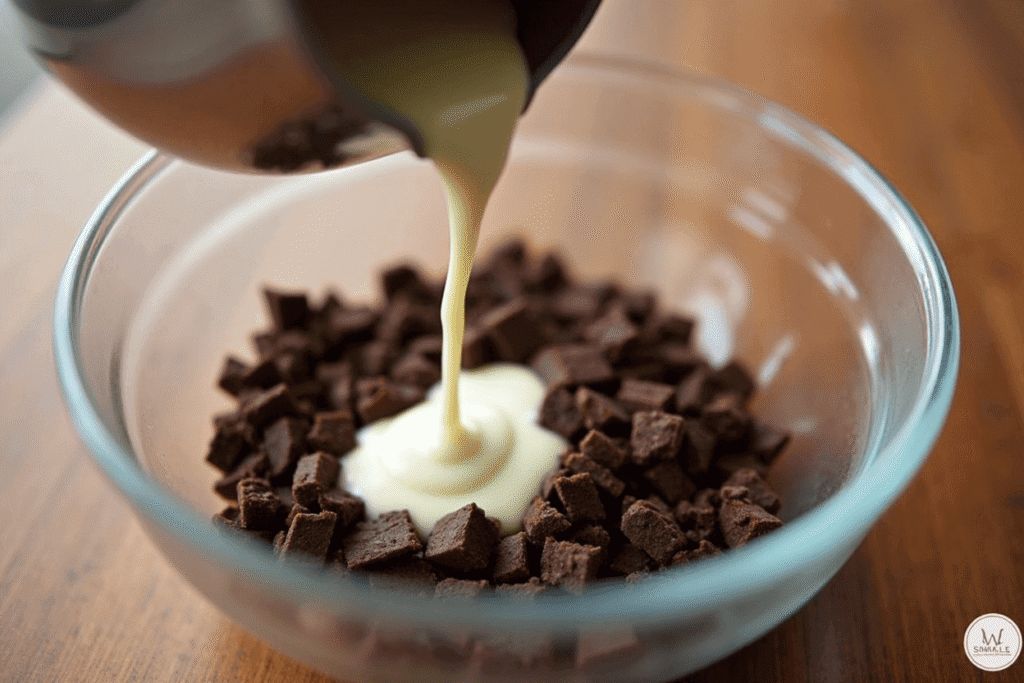
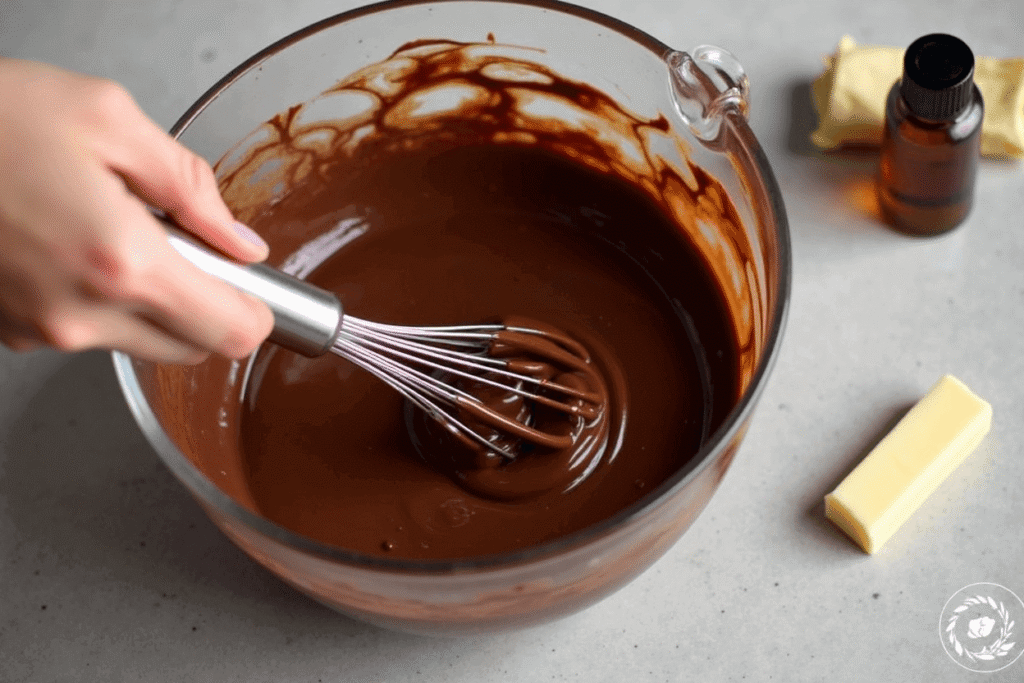
Step 5: Stir to Create a Smooth Ganache
Now it’s time to stir. Using a spatula or whisk, gently stir the chocolate and cream together. At first it may look like a lumpy, gloppy mess – don’t worry! Keep stirring slowly, scraping the sides and bottom of the bowl, and you’ll see the chocolate gradually melt into the cream. It will become silky, glossy, and completely smooth kingarthurbaking.com. If some bits haven’t melted, you can cover the bowl and let it sit a minute longer, or briefly reheat the mixture (in 10-second bursts in the microwave) until everything is fluid. The goal is a uniform chocolate mixture. Once smooth, the ganache should look shiny and have the consistency of warm caramel sauce.
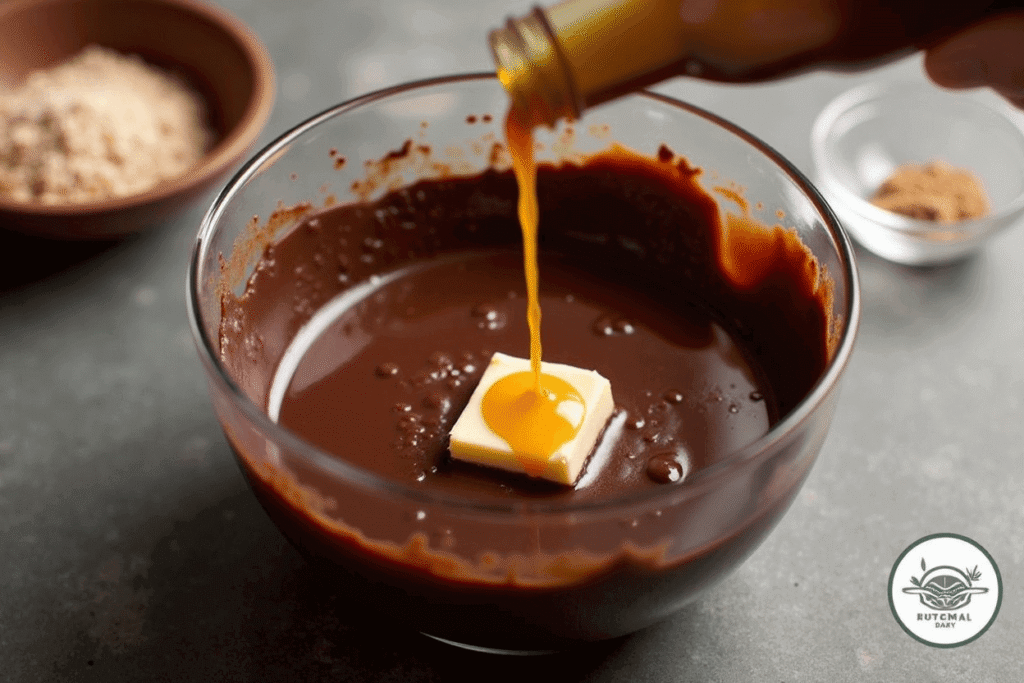
Step 6: Enrich the Ganache (Optional Step)
For an extra-rich fudge ganache, stir in a bit more fat now. You already may have added butter or corn syrup in the cream (Step 3). If not, you can fold in a tablespoon of room-temperature butter now to make it even more luscious. This will cool the ganache slightly and give it a creamy melt-in-your-mouth texture. (Butter is optional, but professional pastry chefs often use it for that luxurious mouthfeel.) Also, taste and add a pinch of sea salt or a drop of vanilla extract to enhance the chocolate flavor. Stir until these extra ingredients are fully incorporated. The result should be thick, shiny, and decadent.
Vegan Variation: For a dairy-free version, substitute full-fat coconut milk or coconut cream for the heavy cream. It still turns out beautifully, delivering a rich, fudgy ganache with a hint of coconut-chocolate decadence. Let the coconut milk simmer (don’t boil), pour over chopped chocolate, and proceed as below. Coconut milk ganache can be whipped when cool for a fluffy frosting alternative sallysbakingaddiction.com.
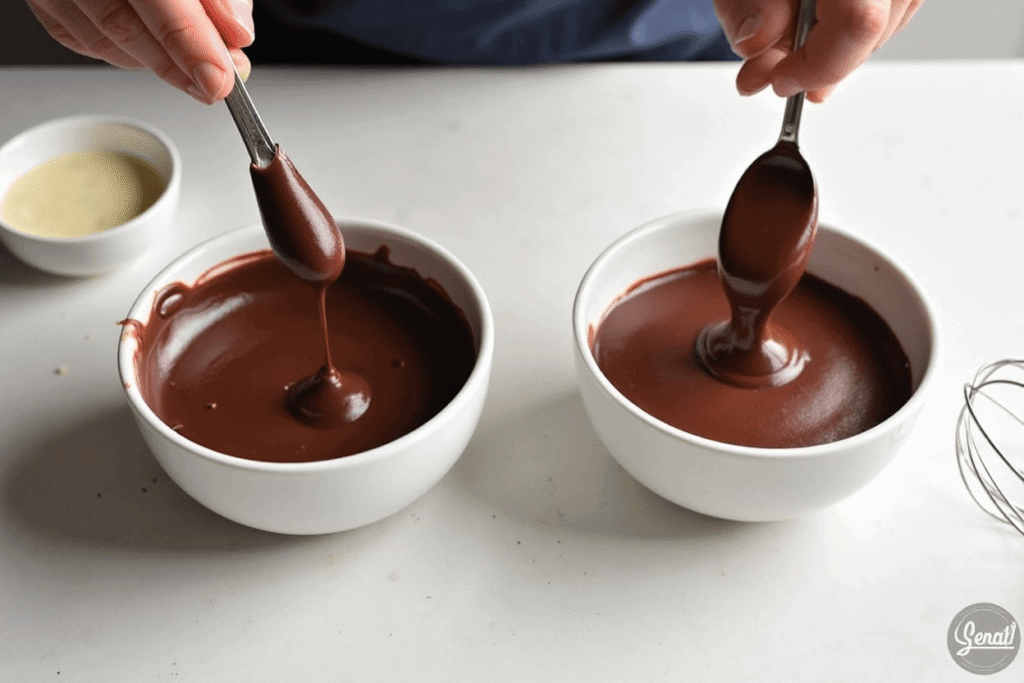
Step 7: Adjust Ganache Consistency
At this point you have a basic ganache. The thickness of your ganache depends on the chocolate:cream ratio. If it seems too thick (like spreadable frosting) for your needs, you can gently reheat it or stir in a spoon of warm cream to loosen it. If it’s too thin (too much cream or not enough chocolate), simply let it cool a few minutes – it will thicken as it cools kingarthurbaking.com. For a much thicker, truffle-like ganache, add more melted chocolate and stir until smooth bbcgoodfood.com. BBC Good Food points out that more chocolate (or less cream) makes thicker ganache for a truffle or fudge texture bbcgoodfood.com. Decide now how you want to use it:
- Warm & Pourable (Drizzling): Use the ganache immediately while warm. It should be pourable – perfect for drizzling into cake layers or over the top of a cake (see next step).
- Room-Temp & Spreadable: If you want to pipe or spread it like frosting, let it cool at room temperature until it’s spreadable. You can also pop it in the fridge for 15–20 minutes, stirring occasionally, to thicken it faster.
- Whipped (Fluffy Frosting): Once cooled to room temperature, you can whip the ganache with a mixer for a lighter mousse-like frosting (Sally’s blog notes you can whip chilled ganache on medium-high for 4 minutes to make a fluffy ganache frosting itsallfrosting.wordpress.com).
For this recipe, we’ll assume you want a classic pourable fudge ganache to glaze the cake. If so, proceed while it’s still warm.
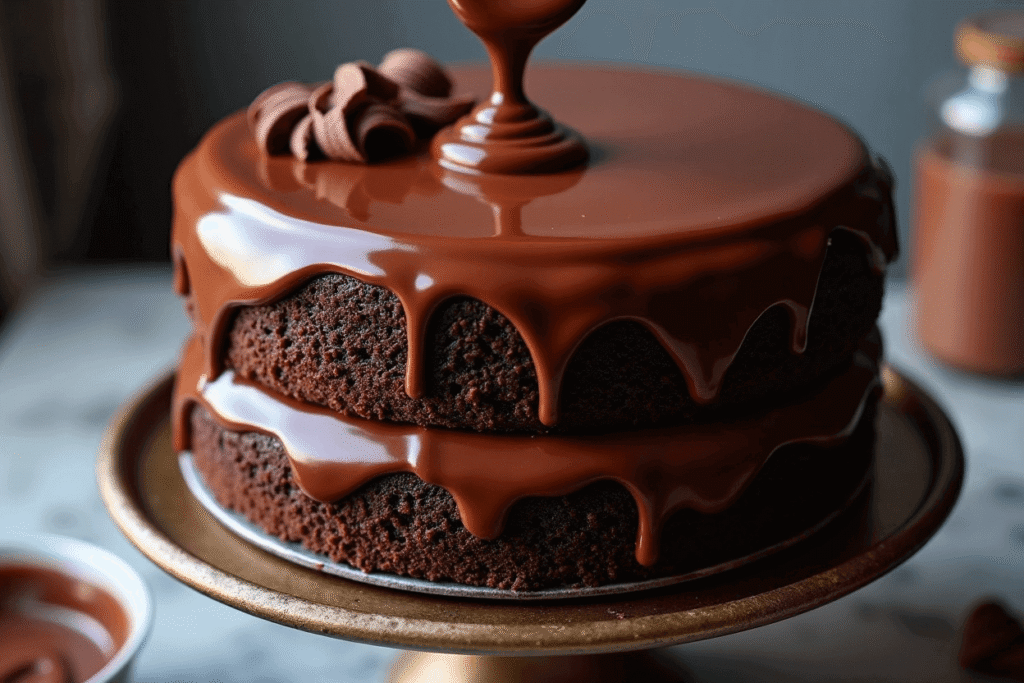
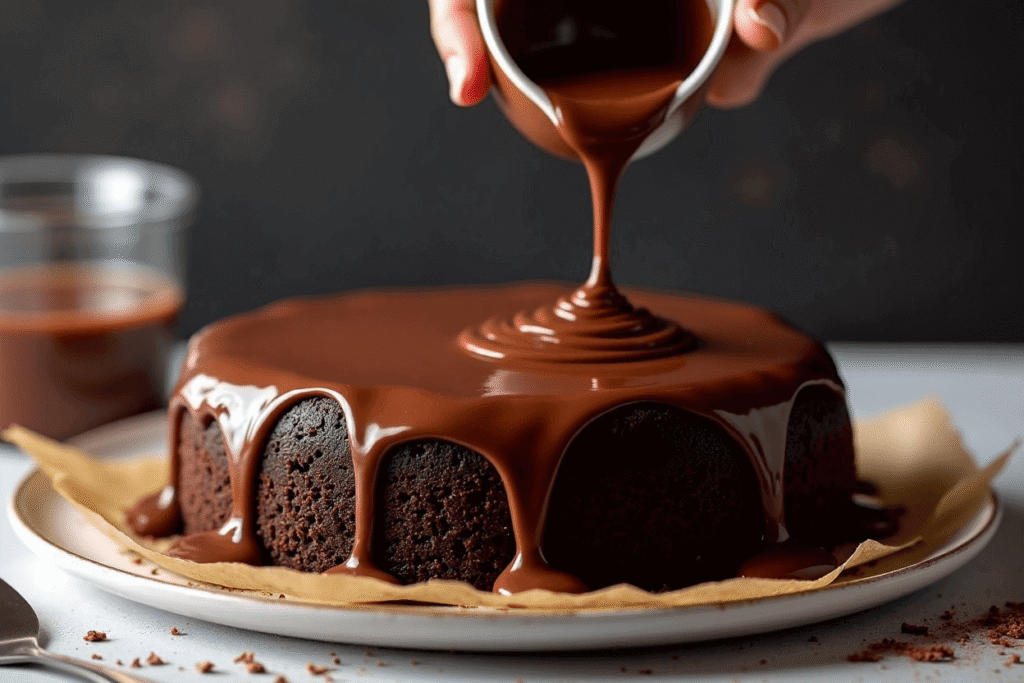
Step 8: Drizzle the Ganache Over Your Cake
Time to transform your cake! Place your cooled cake (or cake layers) on a wire rack over a tray or plate. Using a spoon or small ladle, slowly pour the warm ganache over the center of the cake, letting it cascade naturally as it drips down the sides in rich, glossy ribbons. Use a spatula or butter knife to spread it if needed, guiding the pour for even coverage. The image above shows a rich chocolate ganache being poured – that velvety look is exactly what we want. The ganache will slowly come together into a shiny blanket over your cake. If the top isn’t fully covered, spoon additional ganache on top to smooth it out. A little goes a long way because it’s thick and rich! For a beautiful finish, let some drips run down the sides, or carefully push them up with a spatula for a decorative edge.
Tip: If you want a really smooth finish, let the ganache set for a minute and then give it one more gentle stir to remove any air bubbles.
Once you’re happy with the coverage, allow the ganache to set. It will thicken as it cools, turning from glossy pour to a firm, fudge-like shell. This only takes about 10–15 minutes at room temperature for a thin layer; chilling in the fridge for 30 minutes gives a firmer result. But even warm (within 5–10 minutes), it’s wonderfully fudgy and delicious.
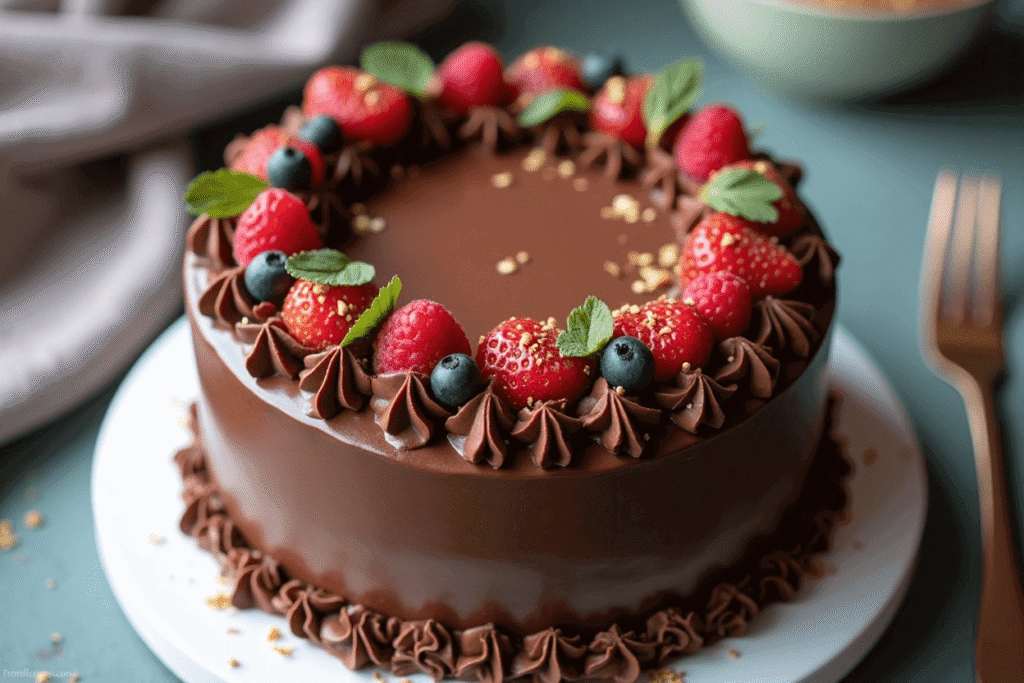
Step 9: Finish & Decorate
With your cake coated in ganache, you can add any extra decorations or let it shine as is. SAdd a finishing touch with chopped nuts, delicate chocolate shavings, or fresh berries for a burst of color and texture contrast. If you have left-over ganache, don’t waste it! Pour any extra into a small dish and save it for later. You can refrigerate leftover ganache (covered) for up to a week kingarthurbaking.com. When stored, it will become very firm – just gently reheat it in the microwave or on the stove (low heat) to restore a spreadable texture. Leftover warm ganache makes an amazing dessert sauce over ice cream or fruit. In fact, you might even drizzle it on breakfast tomorrow – imagine our fluffy buttermilk pancakes taylorrecipe.com with a puddle of warm ganache instead of maple butter! (Trust us, it’s heavenly.)
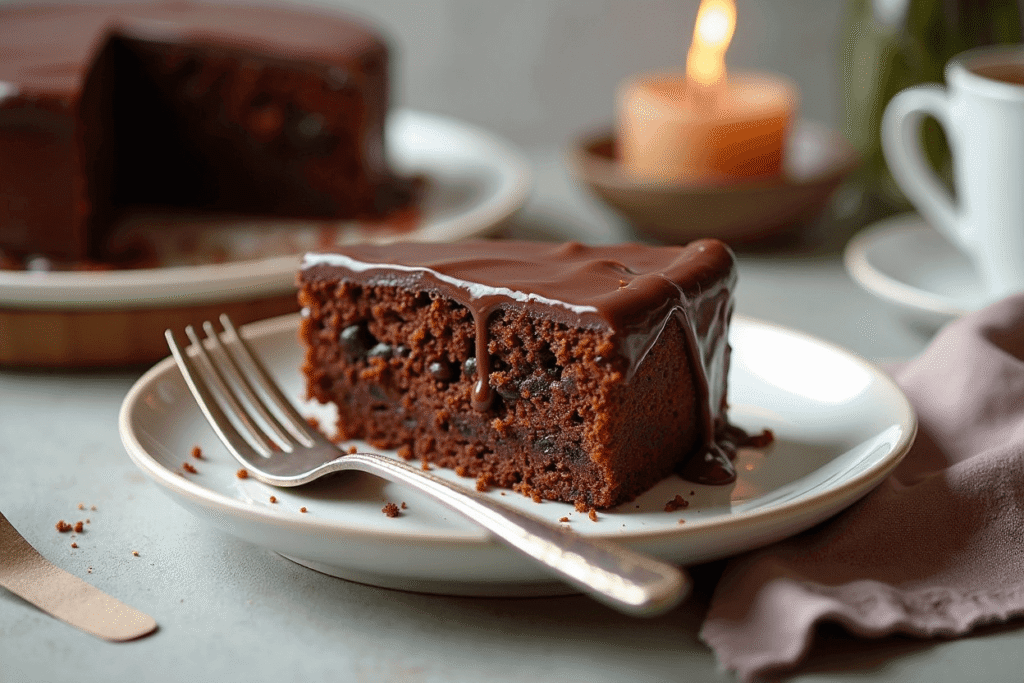
Step 10: Serve, Share, and Enjoy!
Congratulations – you’ve made a gorgeous fudge ganache cake! Slice it up and watch everyone’s eyes light up at the first forkful of chocolatey goodness. The rich ganache frosting is perfect for birthdays, special occasions, or anytime you want to feel extra indulgent. Serve with coffee, milk, or fruit on the side.
If you love this recipe, please let us know! Share a photo or comment below on TaylorRecipe.com – we’d love to see your creation. You can also find more delicious baking inspiration in our Taylor’s Kitchen collection. (For example, try drizzling ganache on our Soft Banana Loaf taylorrecipe.com or serving slices with vanilla ice cream.) Happy baking, and remember: life is sweeter when you share a slice of cake with friends. 💖
Liked this ganache guide? Drop a comment or share on social media! We can’t wait to see how your rich fudge ganache turned out.
Sources: We used trusted baking resources for tips: King Arthur Baking and BBC Good Food explain that making ganache is as easy as heating cream and pouring it over chocolate kingarthurbaking.com bbcgoodfood.com. Follow these steps and you’ll nail the perfect chocolate ganache every time.