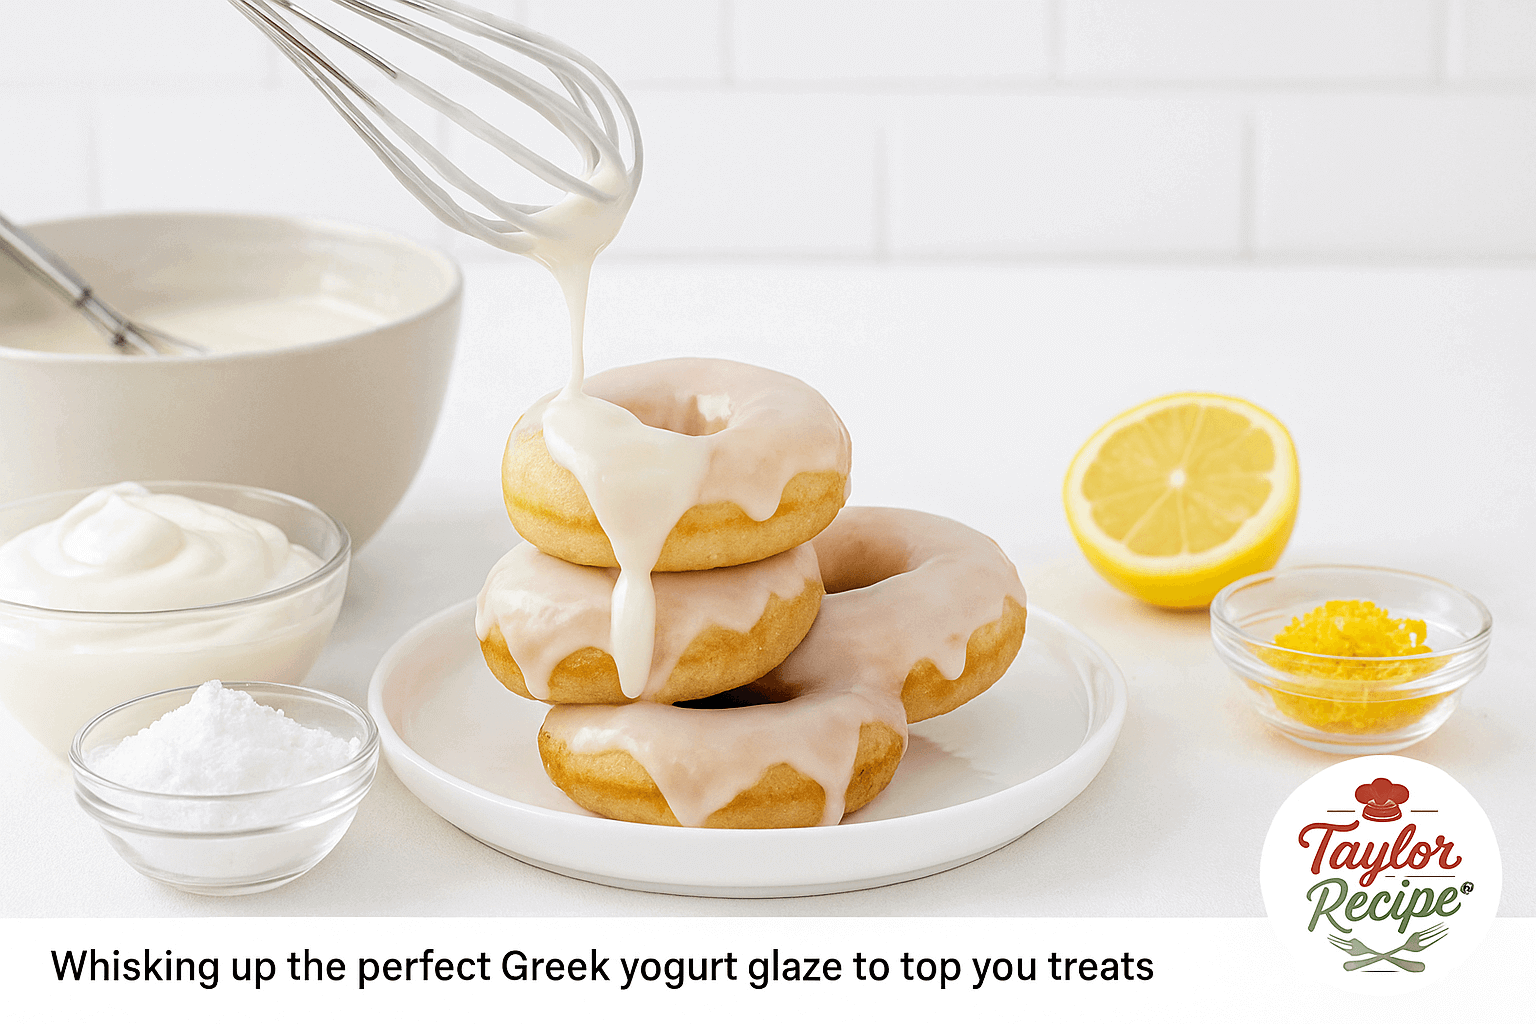
Hello, beautiful! ✨ Step into your happy kitchen space, where we mix love, creativity, and just the right amount of sweetness. Today we’re crafting a creamy, tangy Greek yogurt glaze that’s as nourishing as it is gorgeous. This glaze offers a creamy texture and a gentle tang, setting it apart from regular frosting — all thanks to thick, strained Greek yogurt. Packed with about 20 grams of protein in a 200g serving, along with calcium, vitamin B12, and more (according to Healthline), it’s a smarter, feel-good choice. Because the whey is removed, Greek yogurt becomes silky, dense, and perfect for hugging the curves of your cakes, muffins, or donuts — giving you that dreamy, bakery-worthy finish without the guilt. Ready to make your desserts shine? Let’s get started! healthline.com
With its rich protein content and creamy body, Greek yogurt forms the perfect base for a healthier glaze. Compared to sugary icings, a Greek yogurt glaze adds a bit of tang and boosts nutrition – in fact, Food Network notes that topping a citrusy zucchini bread with a sweet Greek yogurt glaze gives the cake “a nice hit of tart and creamy flavor” foodnetwork.com. In other words, your treats get all the sweetness you crave, plus a refreshing yogurt zing. Greek yogurt glazes are great on cakes, cinnamon rolls, muffins, pancakes, or even drizzled over fruit; they stay relatively light and can support fruity or nutty toppings easily.
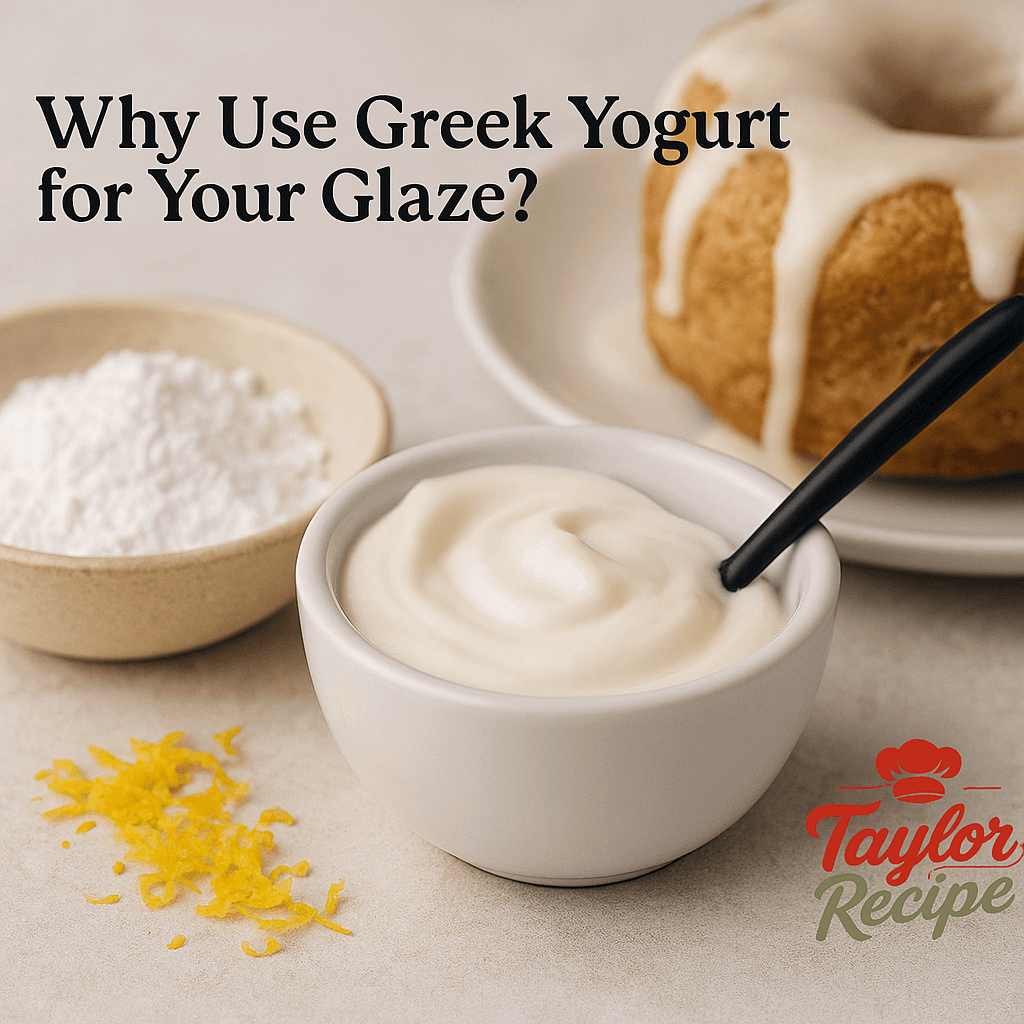
Why Use Greek Yogurt for Your Glaze?
Greek yogurt is a nutritional powerhouse. A 200g serving delivers roughly 20g of protein, along with significant calcium, vitamin B12, B2 (riboflavin), and selenium healthline.com These nutrients support bone health, muscle repair, and immunity. Crucially, straining gives Greek yogurt its dense, creamy texture and boosts its protein compared to regular yogurt. healthline.com That means your glaze won’t be runny or thin – it will hold its shape and provide a smooth coating. And because it’s high in protein, the glaze will be more filling and lower in added sugar if you sweeten it lightly.
Swapping heavy butter or cream for Greek yogurt also cuts fat and calories. Many recipes simply combine Greek yogurt with a sweetener and flavoring, then chill briefly before glazing allrecipes.com allrecipes.com. The result is a glaze that’s creamy and spreadable but still lightweight. Plus, Greek yogurt contains live cultures (probiotics), so if you choose an unsweetened version it can even support gut healthhealthline.com taylorrecipe.com. In short, using Greek yogurt turns any glaze into a healthier, protein-rich topping that still tastes decadent.
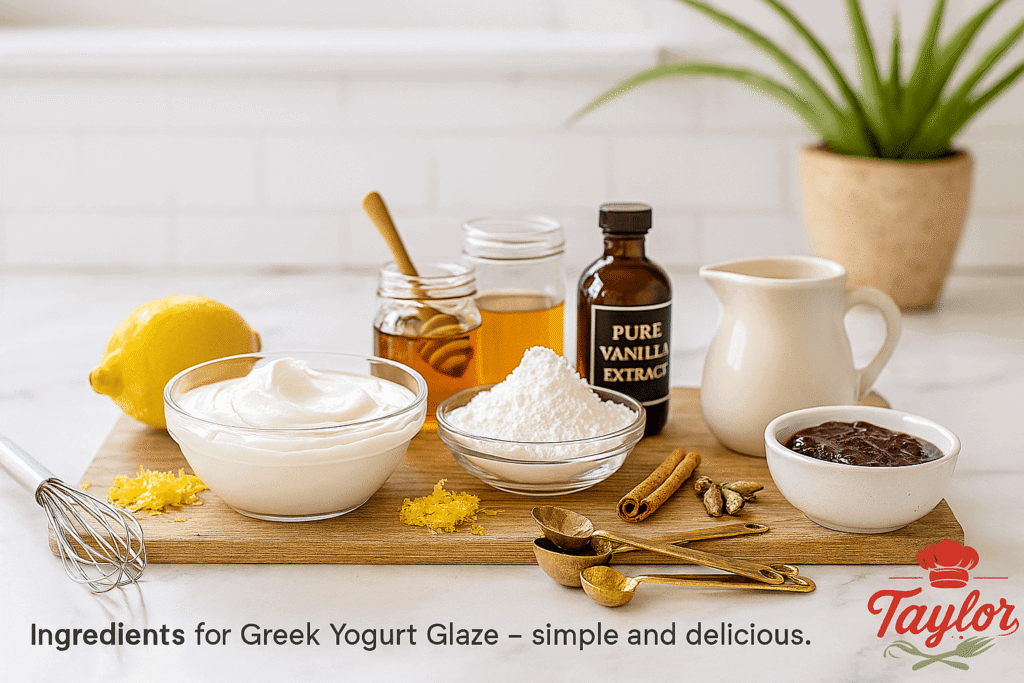
Ingredients for the Perfect Greek Yogurt Glaze
Gather these simple ingredients (many you likely have on hand):
- Plain Greek Yogurt (Full-fat or 2%): The thicker the better. Full-fat yields a richer, silkier glaze, while low-fat yogurt can work too if you whisk thoroughly. Aim for ~1 cup (245g) of Greek yogurt. It forms the foundation of the glaze, adding creamy texture and a distinctive tangy flavor. healthline.com healthline.com.
- Powdered Sugar (Confectioners’ Sugar): This is a common sweetener. Start with about ½ to ¾ cup for 1 cup of yogurt, adjusting for taste. The powdered form dissolves easily and helps thicken the glaze. For a healthier spin, you can use less powdered sugar or substitute natural sweeteners.
- Optional Sweeteners: Honey or maple syrup add natural sweetness and a smooth texture. If using honey, just a tablespoon or two (in place of some powdered sugar) can work and adds antioxidants taylorrecipe.com. You can also use agave or stevia (judiciously) to keep it low-sugar. Remember – whatever you add should be fully mixed in so the glaze is smooth.
- Flavor Enhancers: A teaspoon of pure vanilla extract is classic allrecipes.com. You could also add a dash of lemon juice or zest for brightness, or a pinch of cinnamon or cardamom for warmth. Citrus juice (like lemon or orange) not only adds flavor but thins the glaze slightly.
- Milk (or water), if needed: Very occasionally, you may need 1-2 teaspoons of milk or even water to thin out a too-thick glaze. Add drop by drop after whisking everything else – we want a pourable consistency, not pudding-thick.
- Optional Mix-Ins: For color or flavor twists, stir in fresh citrus juice (orange, lemon) or a spoonful of fruit jam (strawberry, apricot) after mixing. For a chocolaty twist, simply mix in a spoonful of cocoa powder to create a chocolate yogurt glaze.
By keeping the ingredient list short and wholesome, your Greek yogurt glaze will stay light and flavorful. As Allrecipes shows, a basic yogurt glaze can be as simple as Greek yogurt + vanilla + powdered sugar allrecipes.com. We’ll build on that simplicity in our steps below.
8 Steps to Create the Perfect Greek Yogurt Glaze
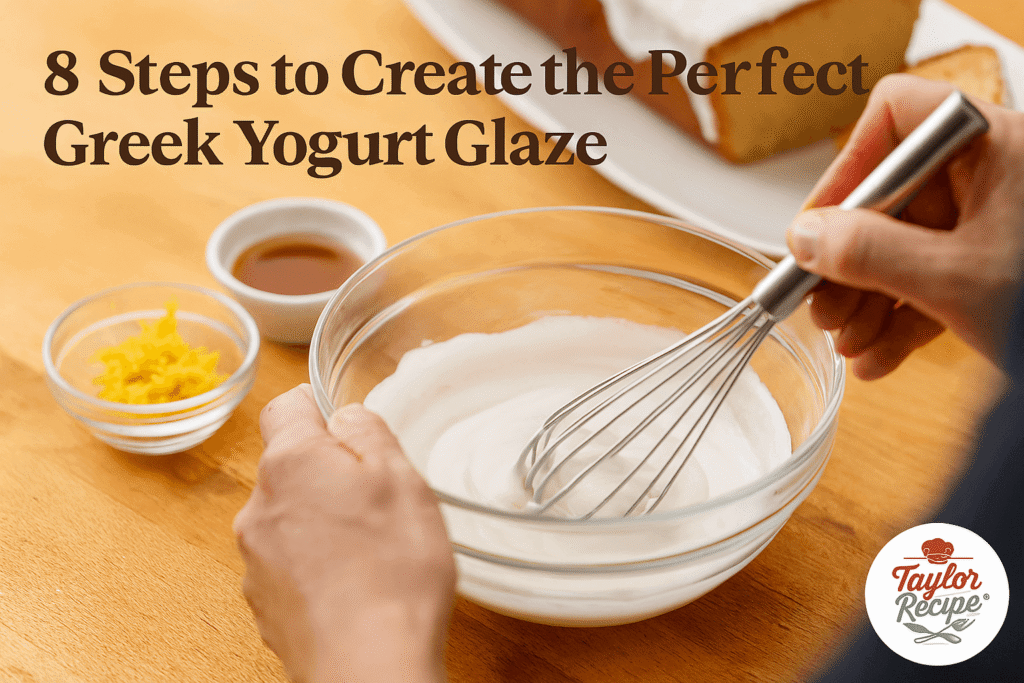
Follow these easy, beginner-friendly steps:
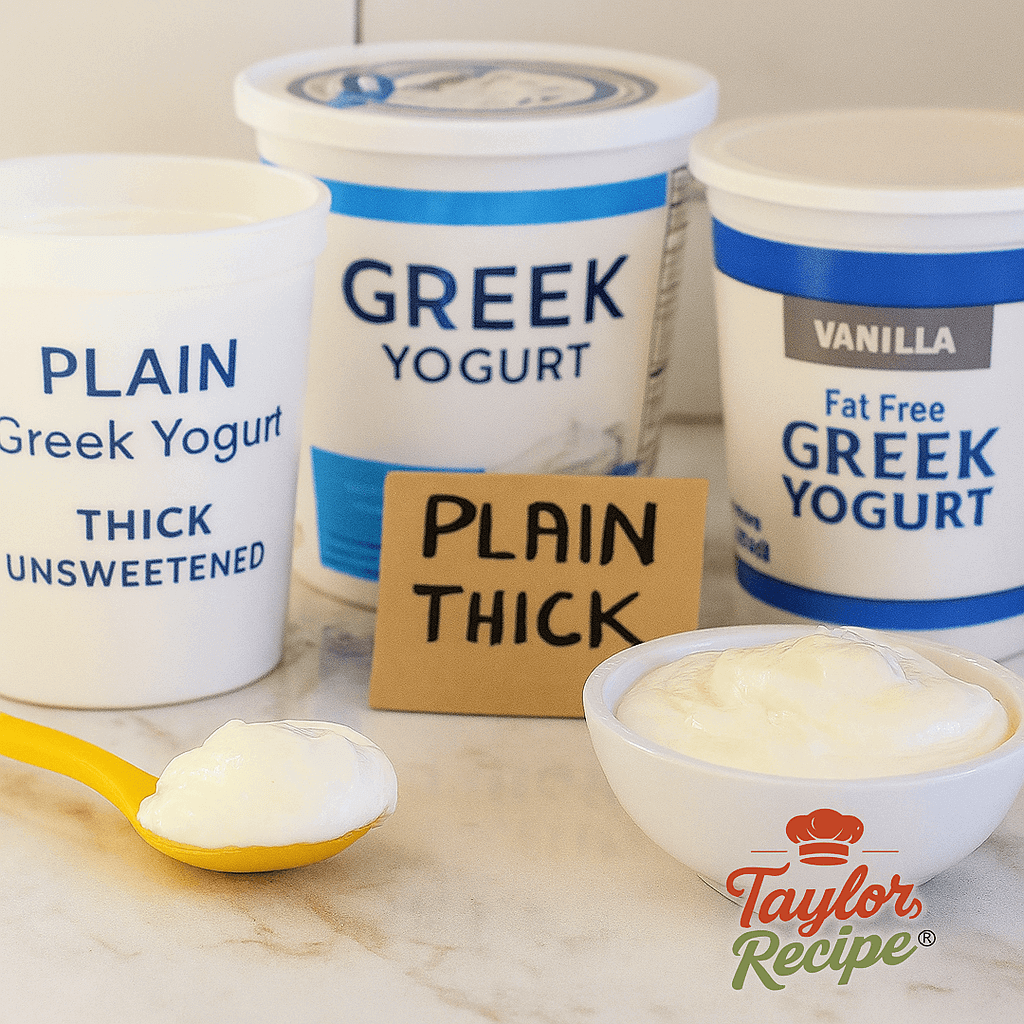
Step 1: Choose the Right Yogurt
Use a thick, plain Greek yogurt (full-fat or 2%). A thicker yogurt results in a glaze that’s both silky smooth and beautifully stable. If your yogurt looks watery at the top, drain any excess liquid in a fine mesh before measuring. (This is essentially what “Greek” yogurt is – regular yogurt strained to remove whey healthline.com.) Using a high-quality, plain Greek yogurt means less tang and smoother taste.
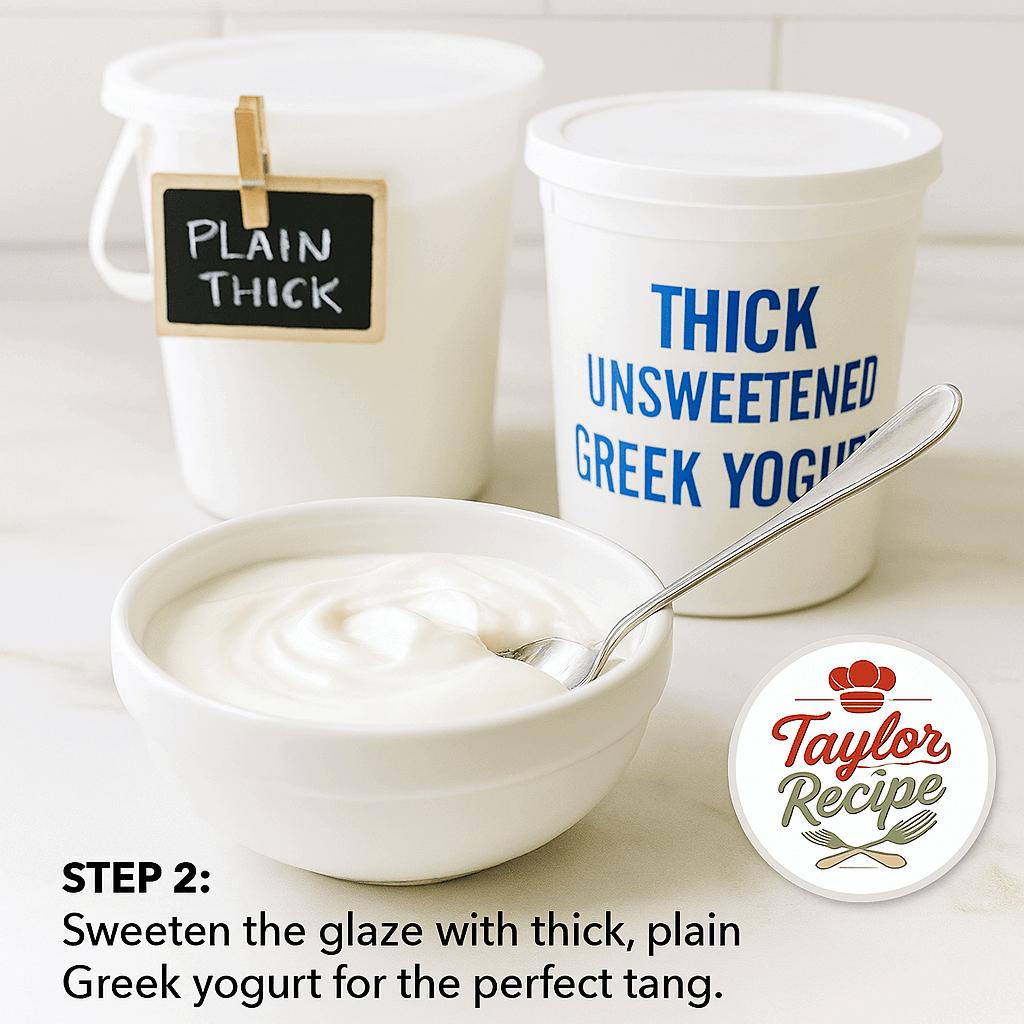
Step 2: Sweeten the Glaze
In a mixing bowl, spoon in the measured yogurt (about 1 cup). Add your sweetener: start with ½ cup powdered sugar. You can increase or decrease this after tasting later. Optionally substitute part of the sugar with 1–2 tablespoons of honey or maple syrup if you like. A little goes a long way – too much liquid will thin the glaze too much. Mix everything lightly at first, ensuring the yogurt is well covered.
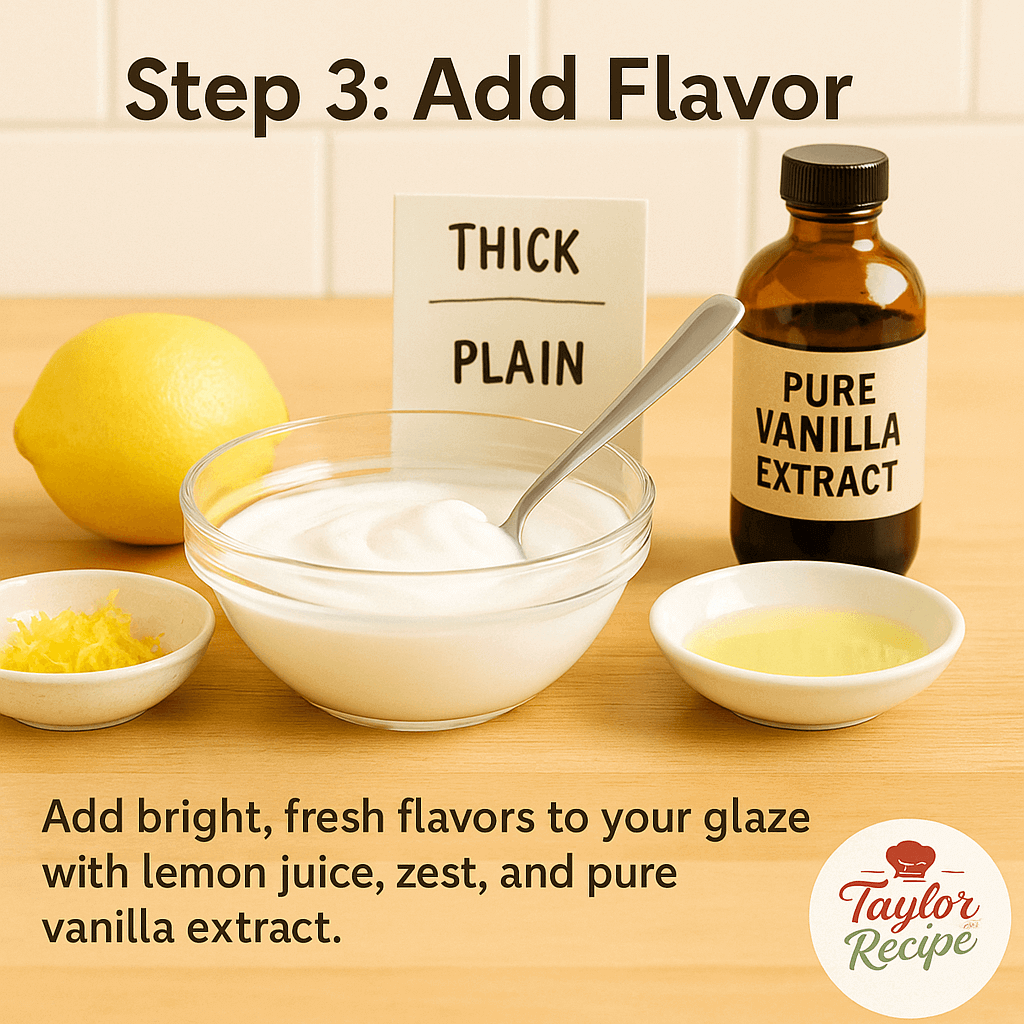
Step 3: Flavor
To the yogurt and sweetener, stir in your flavorings. This could be 1 teaspoon vanilla extract (classic and recommended) allrecipes.com, or a squeeze of lemon juice with some zest for a citrus kick. You can also mix in a pinch of cinnamon, nutmeg or a little salt to enhance flavor. Fold these in well until the mixture is uniform.
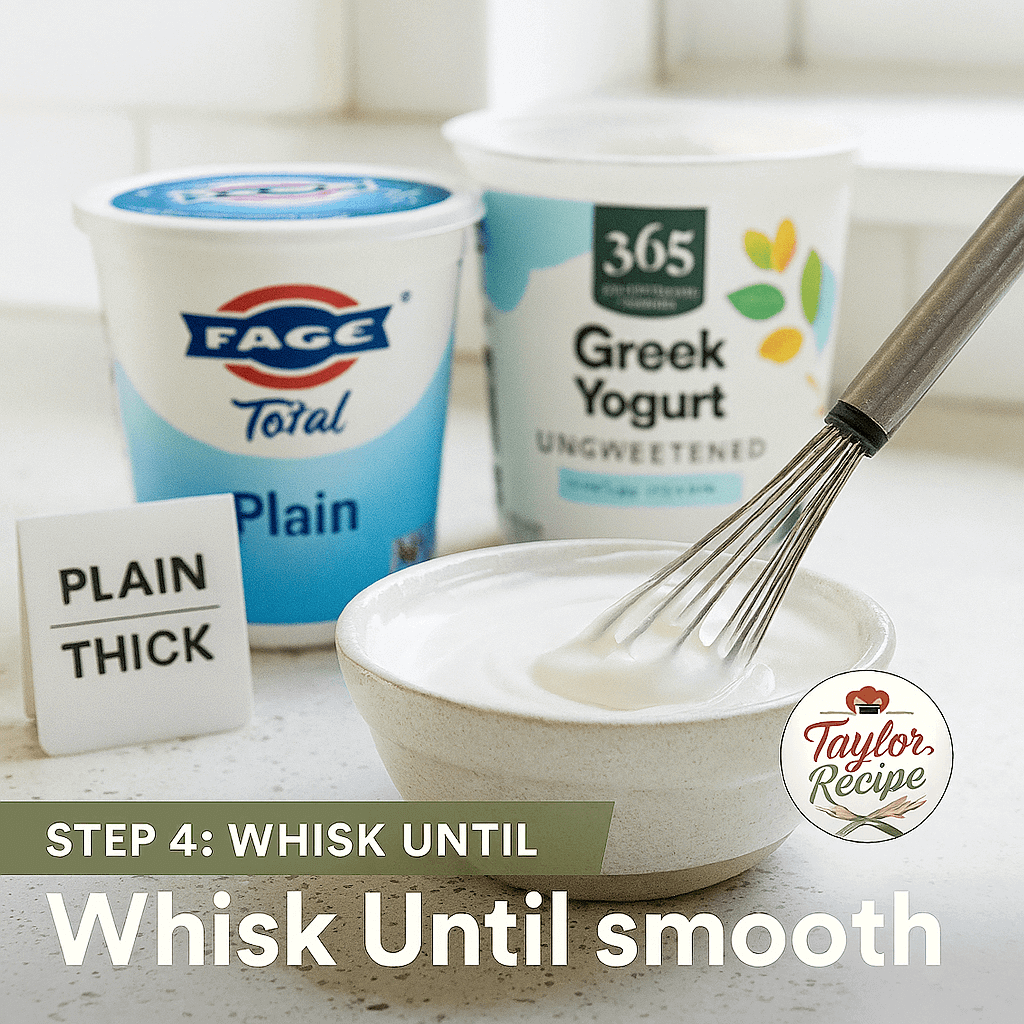
Step 4: Whisk Until Smooth
Now whisk the mixture vigorously until it’s completely smooth and lump-free. Use a small whisk or fork to break up any bits of sugar. The glaze should be velvety. If it seems very grainy, keep whisking for another minute. Proper mixing ensures the powdered sugar dissolves fully, giving you a silky glaze allrecipes.com.
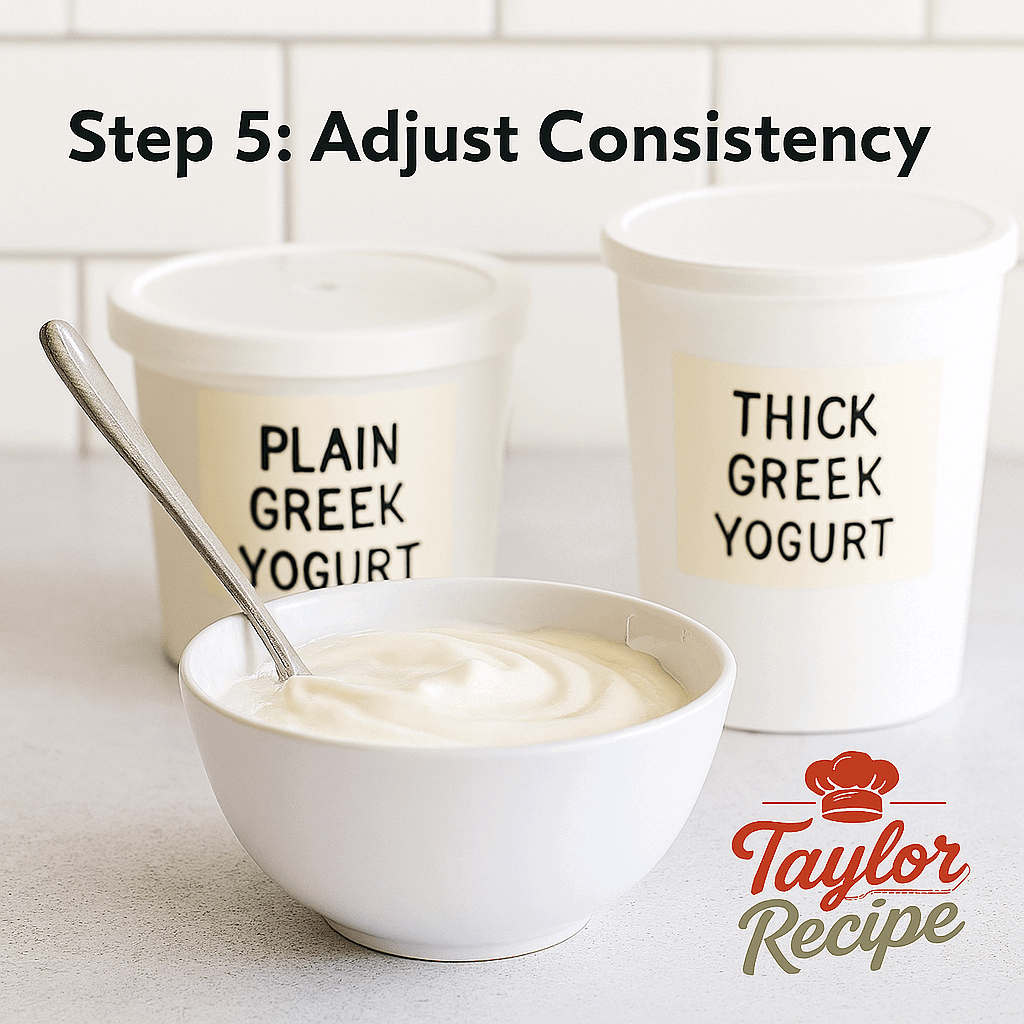
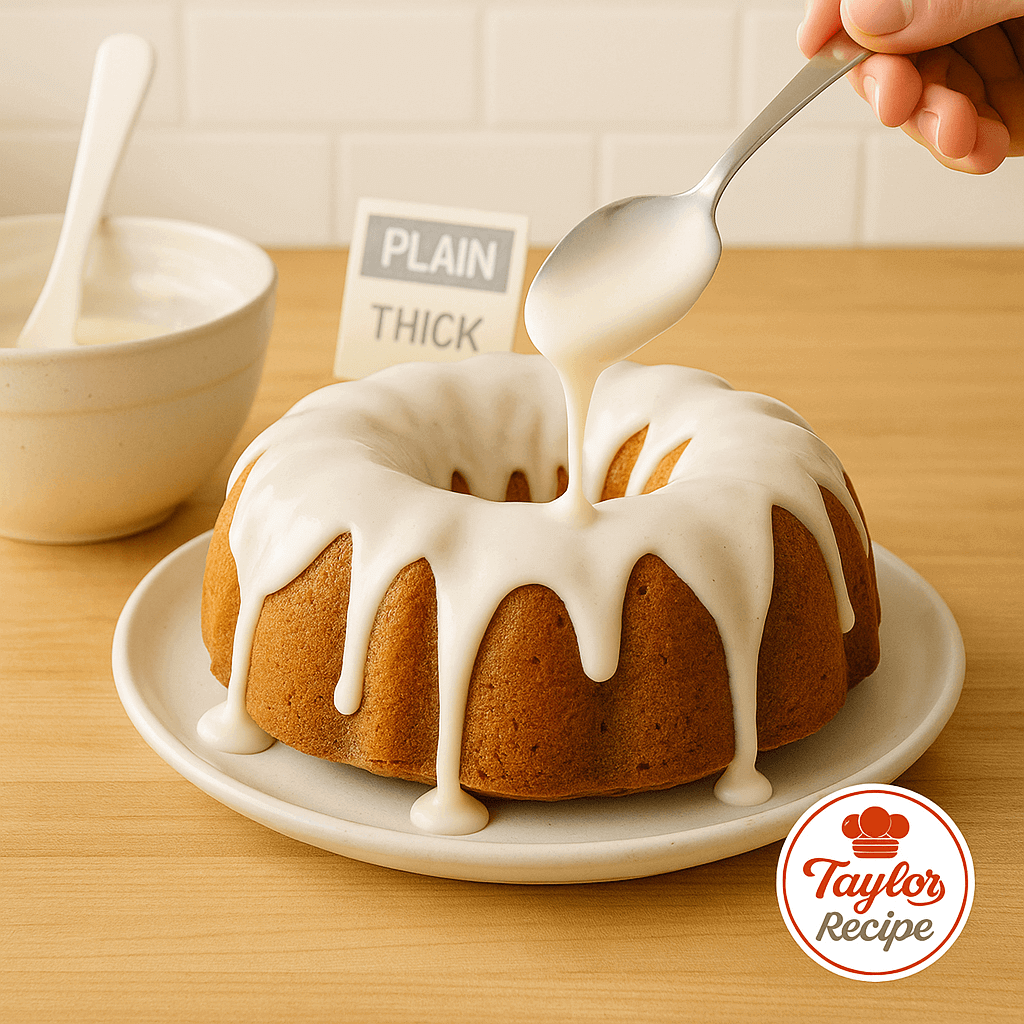
Step 5: Adjust Consistency
Check the thickness. Ideally, the glaze should drizzle off a spoon at a steady pace, not pour like water. If it’s too thick (doesn’t pour easily), add 1 teaspoon of milk or water and whisk again. Only add very small amounts – the yogurt should still coat the back of a spoon. If your glaze turns out runny, simply stir in a little extra powdered sugar to thicken it up. A good rule is: if you can see your cake through the glaze when poured on top, it’s too thin and needs more sugar (or more yogurt).
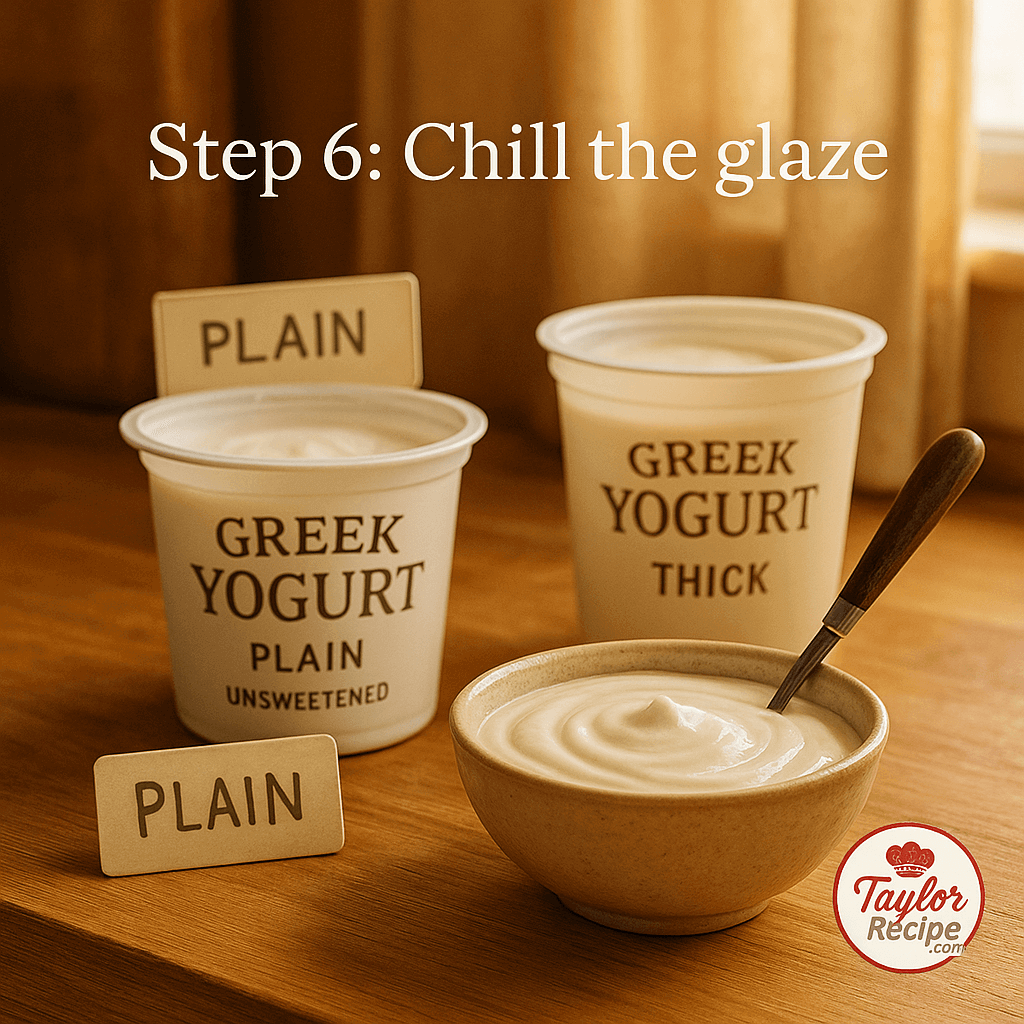
Step 6: Chill the Glaze
For the best texture and ease of spreading, refrigerate the glaze for about 20–30 minutes. Chilling lets it firm up slightly, much like frosting. This also gives flavors time to meld. (Allrecipes, for example, says to chill a yogurt glaze before spreading on cake allrecipes.com.) After chilling, stir gently once – it should have thickened just a bit. For a smoother, more spreadable glaze, add another teaspoon of milk or water and whisk well.
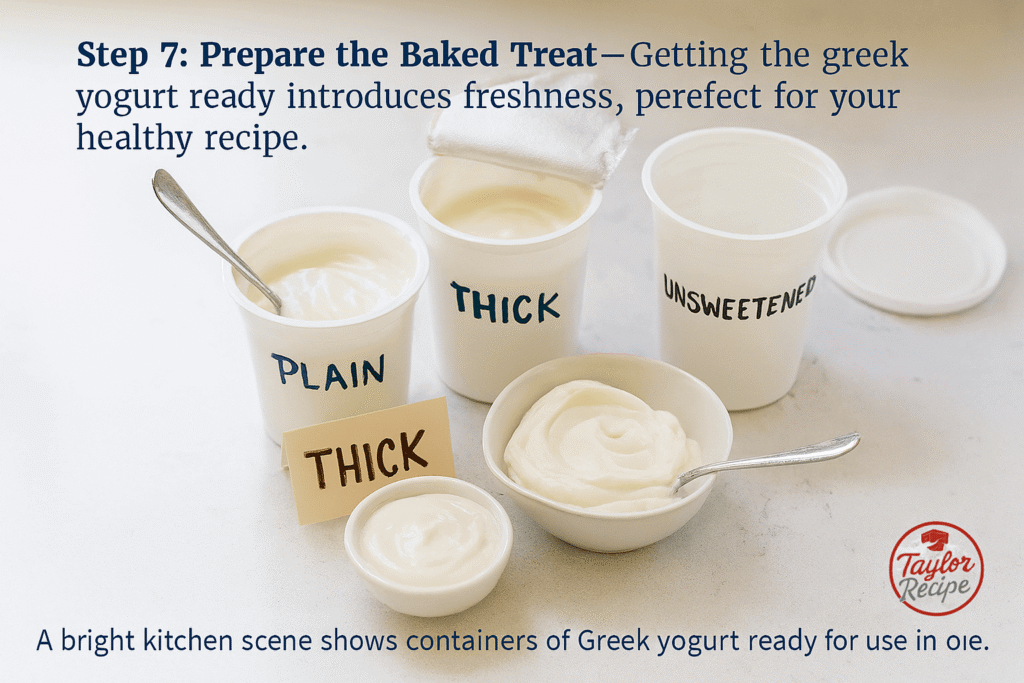
Step 7: Prepare the Baked Treat
Make sure the cake, muffin, or pastry you plan to glaze is completely cool. Warm cakes will melt the glaze. If glazing something like a cinnamon roll or banana bread, cool it to room temperature. To keep things neat, set your treat on a wire rack with parchment paper or a plate below to catch any glaze drips.
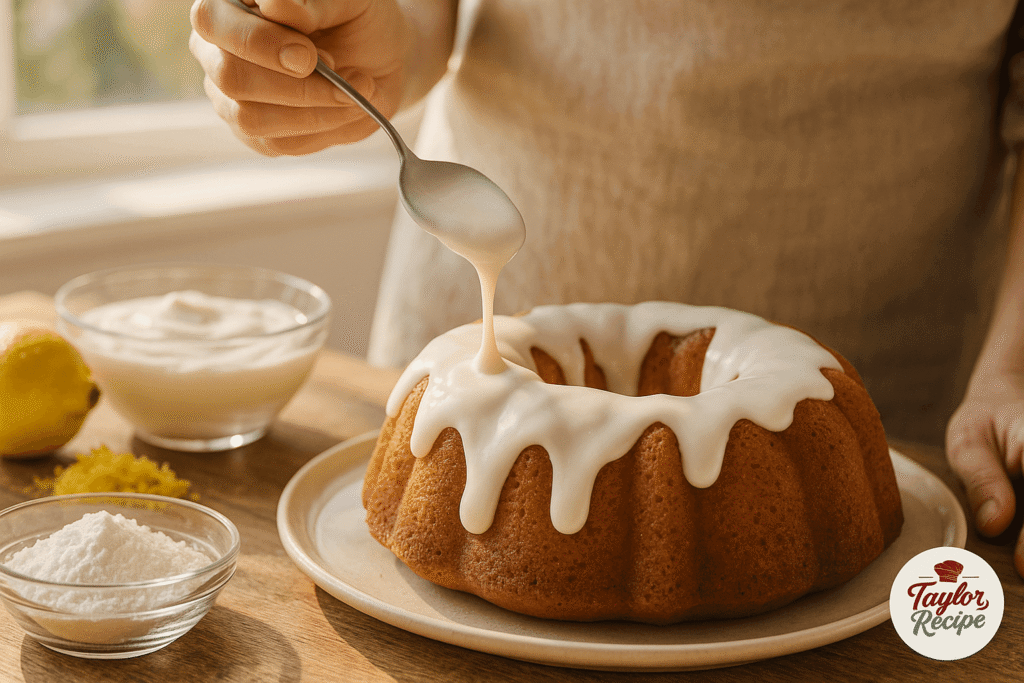
Step 8: Drizzle and Let Set
Spoon or pour the yogurt glaze over the treat, using a spatula or the back of a spoon to spread if needed. The glaze will be somewhat pourable, so work quickly in a smooth, even layer. You can let it naturally drip down the sides for a rustic look. Once glazed, let it sit at room temperature for 10–15 minutes so it sets lightly. You can also pop it briefly in the fridge (5–10 minutes) to firm up faster before serving
Each of these steps only takes a minute or two (and whisking with yogurt is easy – no baking experience needed!). By following them, you ensure your Greek yogurt glaze is smooth, sweetened just right, and perfectly pourable.
Tips & Variations for Your Greek Yogurt Glaze
- Flavor twists: mix in 1–2 teaspoons of citrus zest — lemon, lime, or orange — to perk up the glaze. A tiny bit of cardamom or espresso powder can bring a warm, complex note to the glaze. You can even stir in pureed fruit (strawberry, peach) for a naturally colored glaze.
- Consistency control: If you prefer a very thick “drip” glaze, use slightly more powdered sugar (so it clings more). For a thinner glaze that soaks into cakes, use a tiny bit more milk or yogurt. Remember, it will thicken as it chills.
- Sweeteners: Swap all or part of the powdered sugar with honey or maple syrup. Honey works especially well – it not only sweetens but also brings antioxidants and trace nutrients taylorrecipe.com. (A final drizzle of honey on top of the set glaze makes a beautiful garnish, as shown above.)
- Dairy-free option: Use a dairy-free “Greek-style” yogurt (thick coconut or almond yogurt) and sweetener. The steps are the same. Since many plant-based yogurts have a looser texture, chilling them thoroughly will give better firmness.
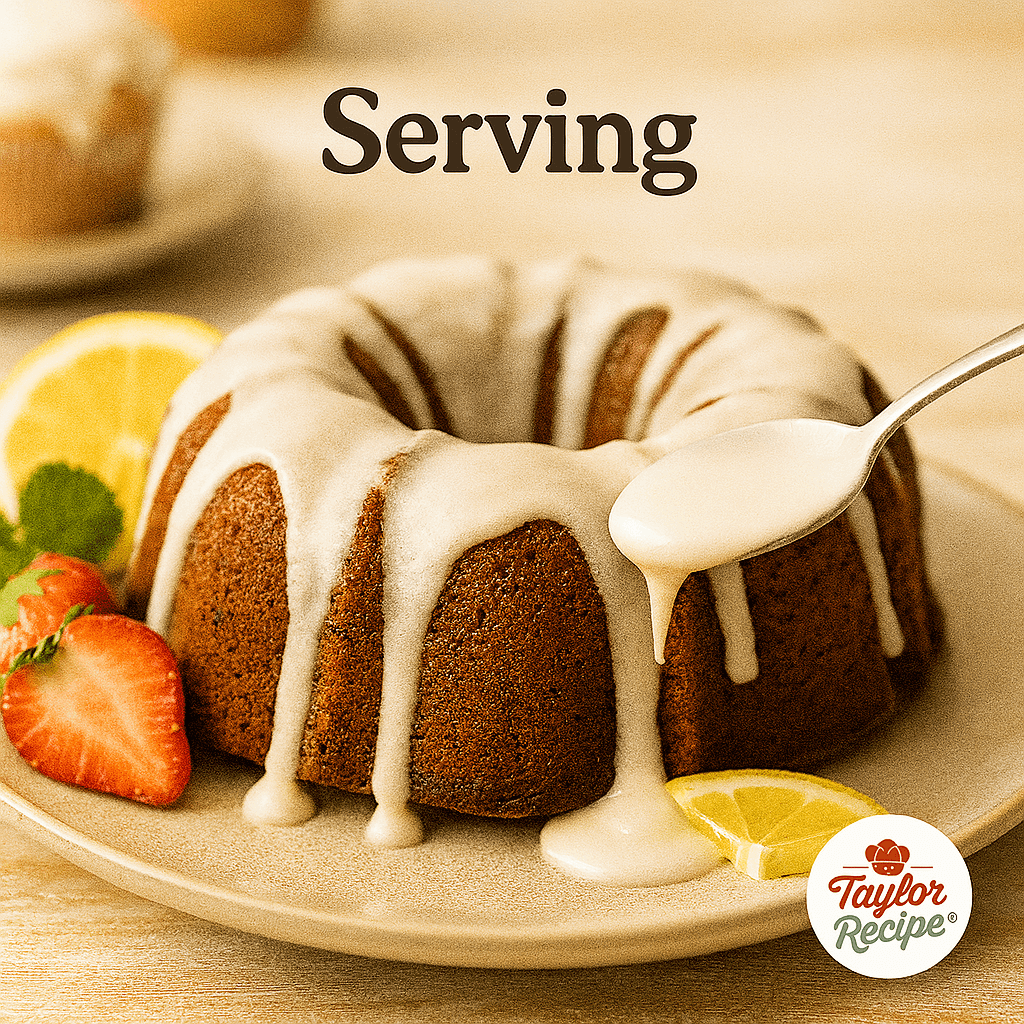
- Serving: This Greek yogurt glaze is excellent on bundt cakes, banana bread, loaf cakes, or cinnamon rolls. Once glazed, you can garnish with chopped nuts, a sprinkle of cinnamon, or fresh berries. For example, try topping a glazed lemon cake with raspberries for a pop of color.
- Storage: Leftover glaze (if any) can be stored in an airtight container in the fridge for 2–3 days. Simply whisk it again before using. Also, any glazed dessert can be kept in the fridge (cover loosely) for a day or two – just bring it back to room temp before eating.

Your finished glaze can be as simple or creative as you like. A little extra honey drizzle and a light dusting of cinnamon add both flavor and flair to the finish. Remember, Greek yogurt paired with natural sweeteners creates a glaze that’s lighter than traditional icings. And since Greek yogurt is rich in protein and probiotics healthline.com taylorrecipe.com, you can feel good about enjoying a dessert that tastes like a treat but has real nutritional benefits.
Conclusion
With these 8 easy steps, you can confidently whip up the perfect Greek yogurt glaze any time. It’s a fast, beginner-friendly way to add flavor and protein to cakes, breads, and pastries. We hope this guide inspires you to experiment – try different flavors, swap in other sweeteners, or use the glaze in unexpected ways.
Enjoyed making your glaze? Let us know how it turned out! Drop a comment below or share a photo on social media with #TaylorsKitchen. And if you liked this recipe, check out our Greek Yogurt Parfait with Berries & Honey taylorrecipe.com for another delicious use of Greek yogurt, or browse our site for more healthy dessert ideas. Happy glazing and happy baking!
Sources: The nutritional info and health benefits of Greek yogurt are noted by Healthline healthline.com healthline.com. Recipe tips are drawn from cooking experts and recipe sites like Allrecipesallrecipes.com allrecipes.com and Food Network foodnetwork.com. (All sources were consulted to ensure accuracy and quality.)