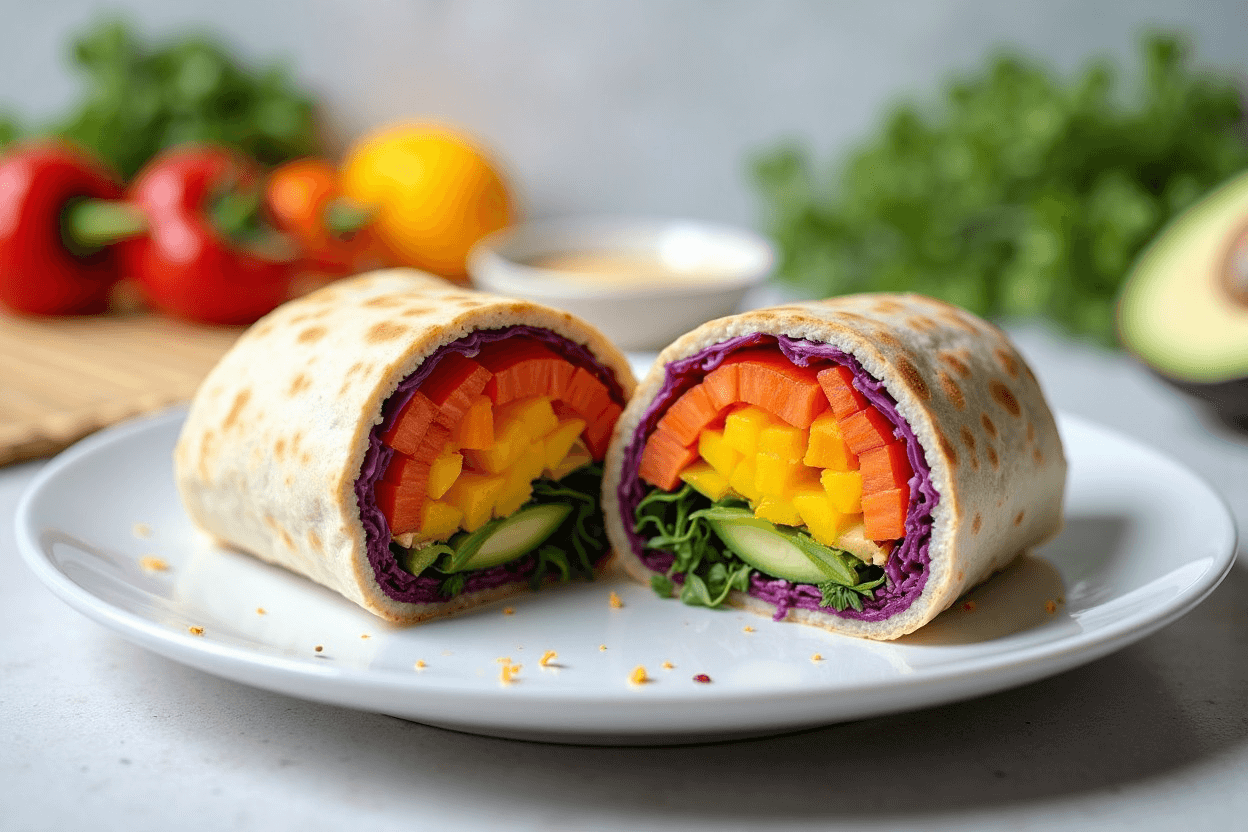
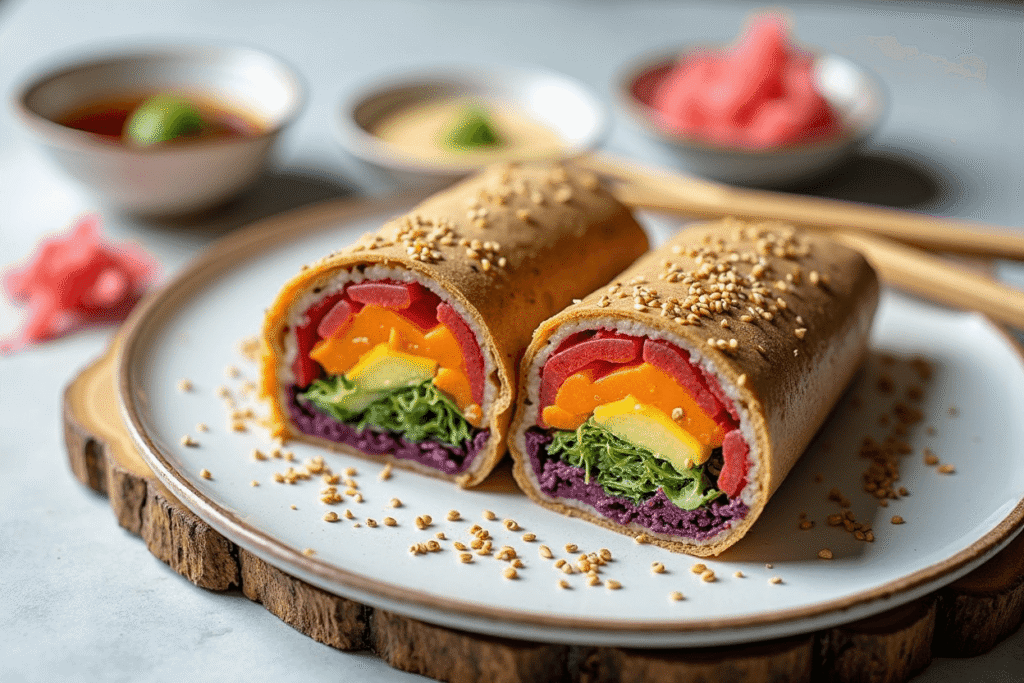
Welcome, lovely ladies! If you’re craving a healthy lunch recipe that’s as gorgeous as it is good for you, you’re in the right place. Meet the Rainbow veggie sushi burrito – a vibrant fusion of sushi and burrito that’s almost too pretty to eat! This vegetarian lunch idea packs a rainbow of veggies into one convenient roll, making it a feast for your eyes and your body. Each bite is bursting with color, crunch, and creamy goodness, yet it comes together with minimal fuss. In other words, it’s the easy sushi burrito you didn’t know you needed. 😉

Why you’ll love it: Not only is this burrito fun and flavorful, it’s also packed with nutrients. “Eating the rainbow” (filling your meal with red, orange, yellow, green, and purple veggies) ensures you get a wide range of vitamins, minerals, and antioxidants in one meal taylorrecipe.com. For example, orange carrots are rich in vitamin A (great for your eyes), leafy greens provide iron and vitamin K, and red peppers deliver a big dose of vitamin C taylorrecipe.com. Plus, we drizzle on a creamy tahini sauce that’s as nutritious as it is delicious – tahini (ground sesame seed paste) is loaded with healthy fats, fiber, protein, and minerals that support heart health and reduce inflammation healthline.com. Bottom line: this Rainbow Veggie Sushi Burrito isn’t just a pretty face, it’s a powerhouse of plant-based goodness!
Rainbow Veggie Sushi Burrito: Dual-Measure Guide (Imperial & Metric)
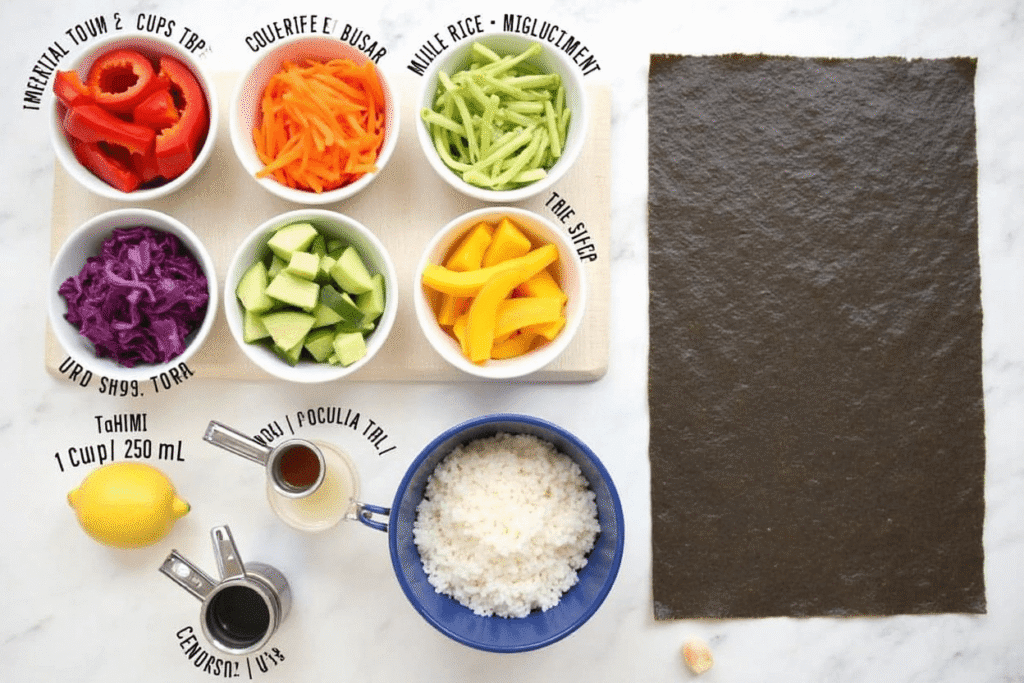
Before we roll, let’s gather our ingredients. This recipe makes 2 sushi burritos (feel free to scale up for meal prep!). For reference, we list both US (imperial) and metric measurements:
Sushi Rice: The Perfect Base for a Rainbow Veggie Sushi Burrito
1 cup uncooked sushi rice (about 185 g) + 2 cups water (475 ml) for cooking. (Flavor Fusion Seasoning: 2 Tbsp rice vinegar (30 ml), 1 Tbsp fine sugar (12 g), and 1 tsp flaky sea salt (5 g) — swirl together until crystals vanish, creating a tangy-sweet elixir that makes the sushi rice sing.)
Nori Seaweed Sheets: Essential Wraps for a Rainbow Veggie Sushi Burrito
2 full-size nori sheets (standard size ~8×7 inches or 20×18 cm) – these are the seaweed wraps.
Colorful Veggies:
About 2–3 cups total mixed vegetables (around 300–400 g), such as:
- 1 small red bell pepper, sliced into thin strips (½ cup / 75 g)
- 1 medium orange carrot, julienned into matchsticks (⅓–½ cup / 50 g)
- ½ yellow bell pepper or 1 small mango, cut into strips (½ cup / 75 g) – mango adds a fruity twist!
- ½ green cucumber (or 1 small avocado), sliced into strips (½ cup / 50 g)
- ½ cup purple cabbage, shredded (about 50 g), or 1 small beet, thinly sliced (for a pop of purple)
- A handful of fresh greens like baby spinach or lettuce (1 cup / 30 g) for extra crunch and color.
Silky Tahini Drizzle:
3 Tbsp tahini (45 g), 1 Tbsp soy sauce or tamari (15 ml), 1 Tbsp fresh lemon juice (15 ml), 1 minced garlic clove, and 2–3 tsp water to loosen. Whisk into a velvety, nutty sauce with a citrusy lift — perfect for hugging every bite.
Seasonings & Extras:
1 tsp sesame oil (5 ml) for flavoring the rice (optional), a pinch of salt to taste, and optional: pickled ginger, wasabi, or a dash of sriracha mayo for serving.
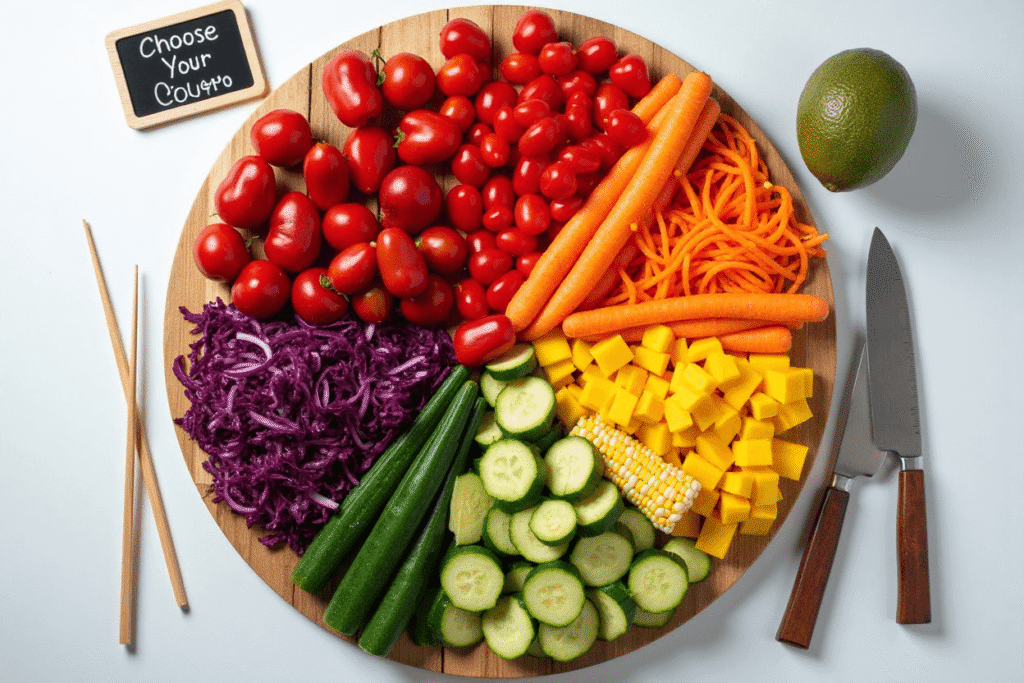
(Feel free to swap veggies with your favorites – just aim for a mix of colors to keep the “rainbow” vibe!)
5 Easy Steps: How to Make a Rainbow Veggie Sushi Burrito
Now for the fun part – assembling your rainbow veggie sushi burrito in five simple steps. Don’t worry if you’re new to rolling sushi; we’ll walk you through it (and you can always see this guide to rolling sushi for extra confidence bbcgoodfood.com). Let’s get rolling!
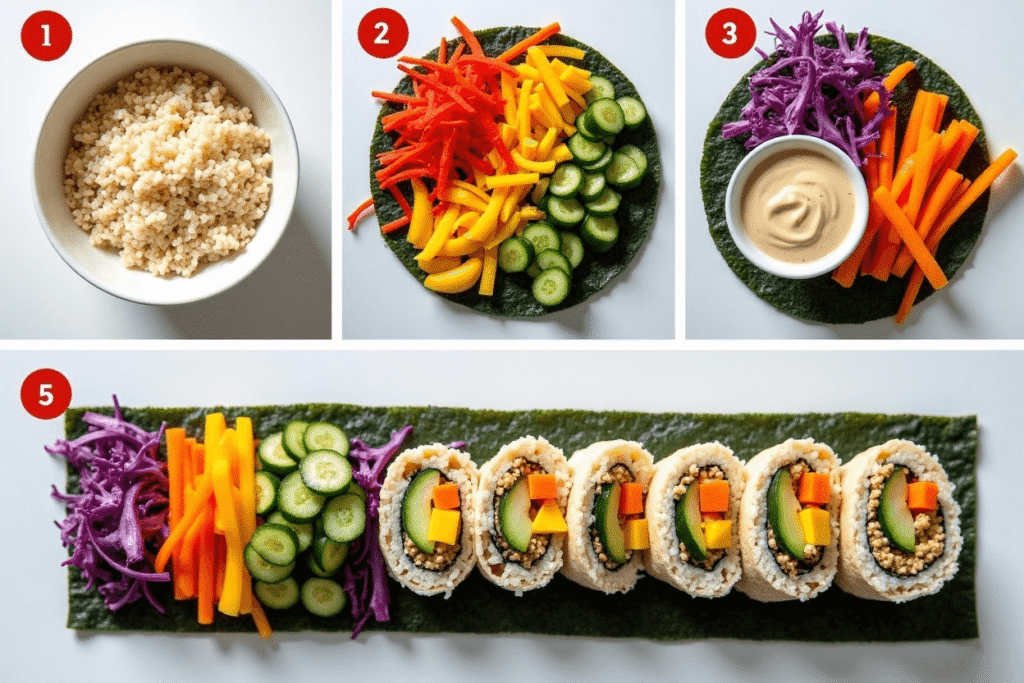
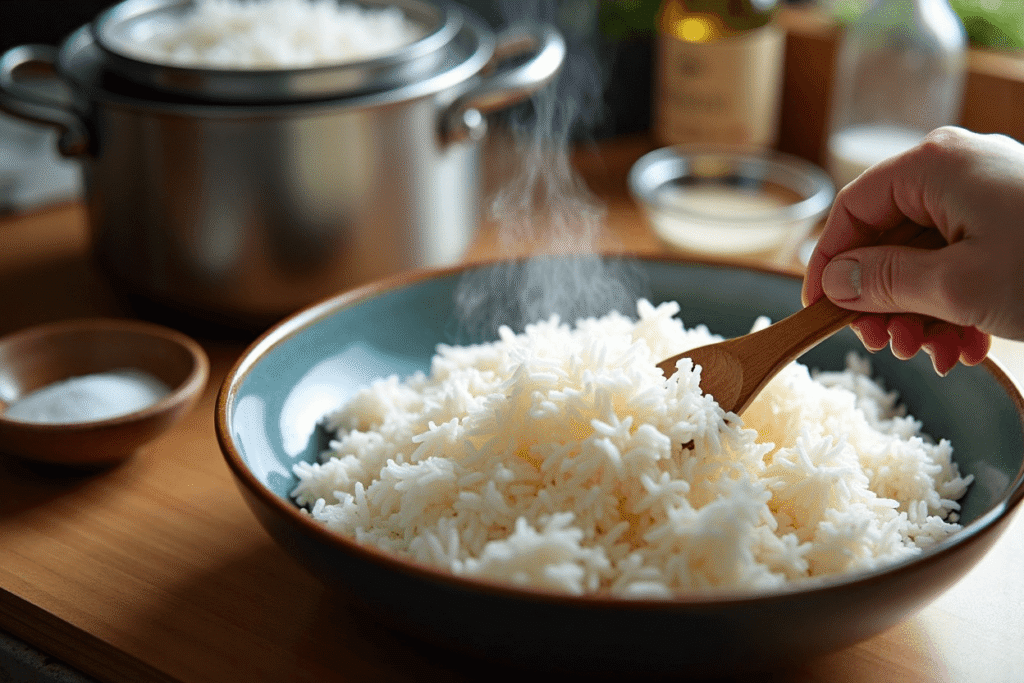
Cook & Season the Sushi Rice
Rinse the sushi rice under cold running water, gently swirling with your fingers, until the water turns crystal clear — this washes away excess starch for fluffier grains. Combine the rinsed rice and water in a pot, bring to a lively boil, then immediately reduce the heat to low. Cover and let it quietly simmer for about 15 minutes, until the rice is tender and every drop of water has been absorbed.
Turn off the heat and let the pot rest, still covered, for 10 minutes so the steam finishes the cooking. In a small bowl, whisk rice vinegar, sugar, and salt until the crystals disappear, creating a clear, tangy-sweet seasoning that will breathe life into your sushi rice. Gently fold this seasoned vinegar into the warm rice, coating every grain with that signature sweet-tangy sushi flavor.
Allow the rice to cool to room temperature before assembling — warm rice can make your fresh veggies limp. Quick-cool tip: Spread the rice in a wide bowl or shallow baking sheet for faster cooling. (In a pinch, you can use pre-cooked rice, but freshly made sushi rice will reward you with the best texture and flavor.)
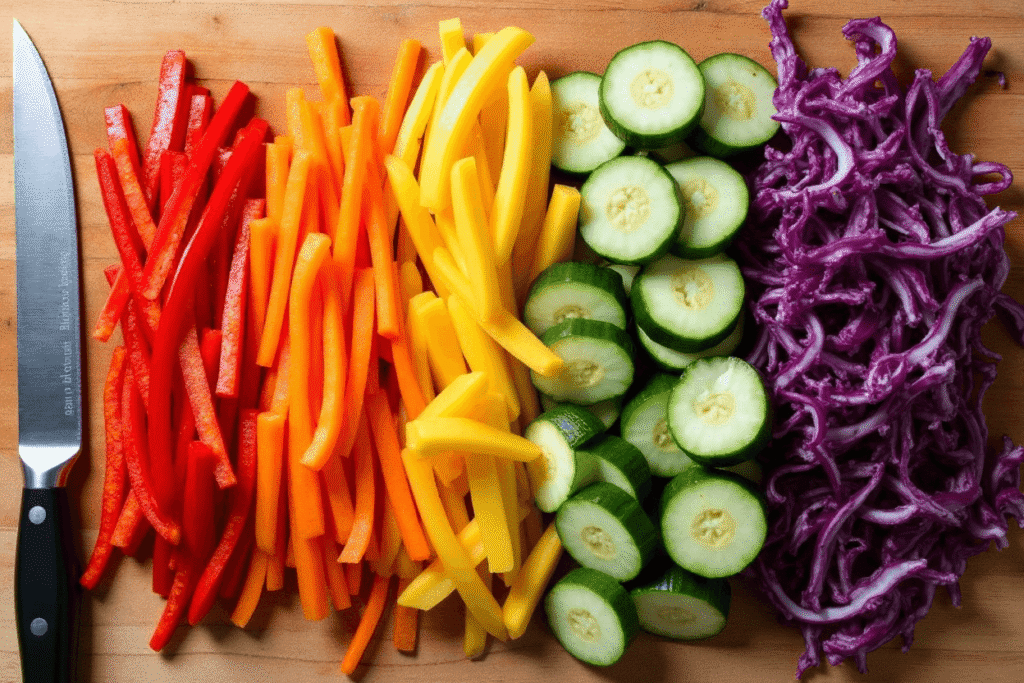
Prep the Rainbow Veggies
Meanwhile, wash and slice all your vegetables. Aim for thin strips or julienne cuts so they’ll roll up neatly. For example, cut carrots into matchsticks, bell peppers into thin strips, and cabbage into shreds. Slice avocado or any soft veggies last to prevent browning. Lay your veggies out in color order – it’s not just practical, it’s also very Instagrammable! A little mise en place magic — with everything chopped, sliced, and ready to roll — will turn assembly into a smooth, satisfying breeze. (You’re basically creating your own edible rainbow palette.)
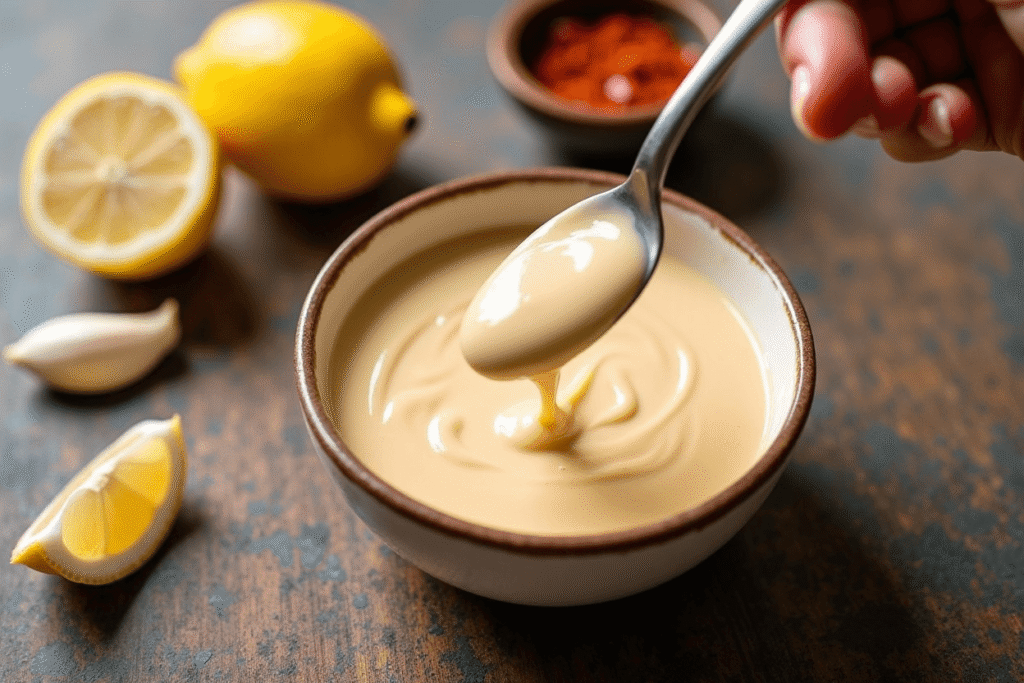
Whip Up the Tahini Sauce
In a small bowl, blend tahini, soy sauce, lemon juice, and minced garlic into a creamy, nutty-citrus mixture that’s as bold as it is smooth. Add a couple teaspoons of water as you stir until the sauce is smooth and drizzle-able (the consistency of a creamy dressing). This tangy sesame sauce will tie all the flavors together. Tahini is not only delicious but also nourishing – it’s made from sesame seeds, which are rich in protein and healthy fats healthline.com. If you like a little heat, you can mix in a squeeze of sriracha or a pinch of chili flakes. Set the sauce aside. (Pro tip: This sauce also makes a great dip for veggie sticks or a spread on sandwiches!)
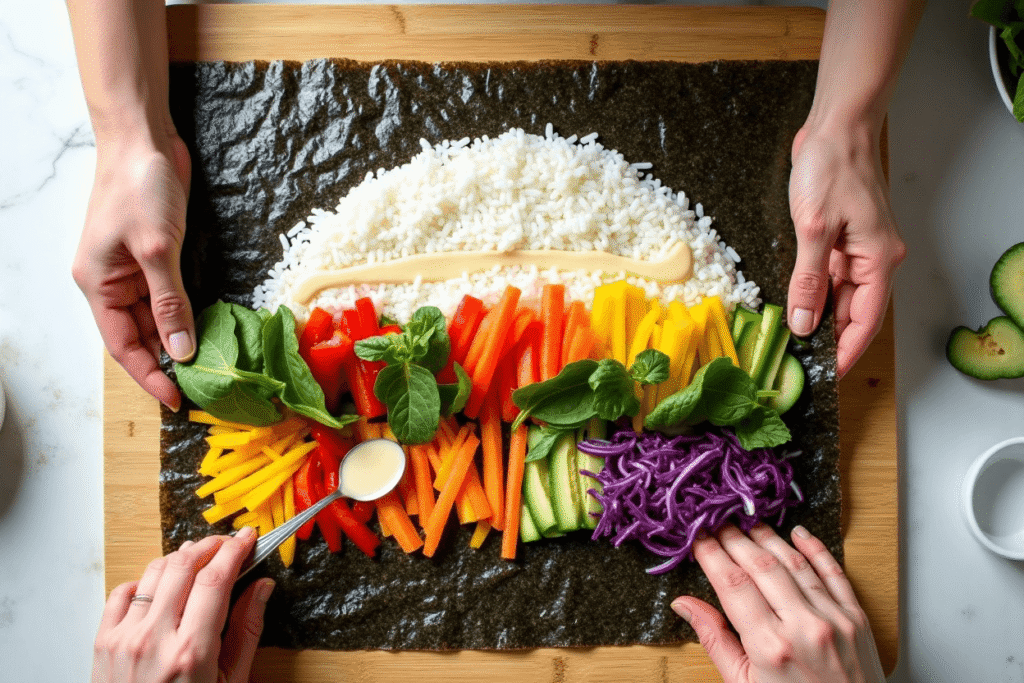
Assemble the Sushi Burrito
Now it’s time to roll! Lay a sheet of nori shiny-side down on a clean surface (or on a bamboo sushi mat if you have one). Dampen your hands to prevent sticking, then take half of the cooled sushi rice and gently spread it over the nori, covering about 3/4 of the sheet. Leave the top edge of the nori (about 1 inch / 2.5 cm) bare – this clean strip will help seal the roll. Next, arrange your rainbow of veggies in a horizontal line across the center of the rice. Place a little of each color – red pepper, orange carrot, yellow pepper/mango, green cucumber/avocado, purple cabbage/beet, plus a few spinach leaves. Drizzle a spoonful of the tahini sauce over the fillings (don’t overdo it, we’ll serve extra on the side).
Now, roll it up burrito-style: start from the bottom edge and lift it up and over the fillings, tucking them in. Continue rolling tightly away from you, using gentle pressure to keep it snug. Wet your fingertips and run them along the top bare edge of nori, then finish rolling to seal the burrito. (The moisture makes the nori stick closed.) Congrats – you’ve made a sushi burrito! 🎉 Repeat with the second nori sheet and remaining rice and veggies to make your second burrito.
Slice & Serve
Using a sharp knife, slice your sushi burrito in half diagonally (optional but it looks stunning and reveals all the colorful layers inside). Sprinkle a few sesame seeds on the cut sides for a pretty touch. Serve immediately with the remaining tahini sauce for dipping. You can also add soy sauce or tamari on the side, plus wasabi and pickled ginger if you’re feeling fancy. Take a moment to admire your creation – it’s truly a rainbow you can eat! Now, dig in and enjoy your beautiful veggie-packed lunch.
(If you’re packing it to go, you can wrap the burrito halves tightly in foil or parchment paper to keep them together. They make a great on-the-go lunch, no messy spills!)
Meal Prep, Storage & Lunchbox Tips for Your Rainbow Veggie Sushi Burrito
One question you might have is: Can I make these ahead of time? Absolutely – with a few tricks! Here’s how to meal-prep your rainbow veggie sushi burrito for busy days and ensure it stays fresh:
Prep Components Separately
If you want to assemble quickly in the morning, prepare all the elements the night before. Cook and season the sushi rice, cut your veggies, and mix the tahini sauce. Store each component separately in the fridge (rice in an airtight container, veggies in another, sauce in a small jar). This keeps everything fresh and prevents the nori from getting soggy overnight. In the morning, simply bring everything together — assemble and roll your burrito in just minutes.
💡 Meal Prep Secret: Keep each component stored separately until you’re ready to roll; it’s the easiest way to keep every bite fresh and free from sogginess taylorrecipe.com taylorrecipe.com!
Prevent Sogginess
If you need to fully assemble ahead, you can, but take precautions. Wrap the finished sushi burrito tightly in plastic wrap or foil to keep air out. It’s best enjoyed fresh, but you can refrigerate it for a short period. In fact, these sushi burritos will keep brilliantly for about 24 hours chilled and wrapped – they’ll still be perfectly edible even after 2–3 days, though the rice may firm up a bit bojongourmet.com. For optimal texture, consider adding any very “wet” ingredients (like juicy tomato slices or extra dressing) right before eating, rather than the night before taylorrecipe.com. This way, your burrito doesn’t turn soggy on the bottom.
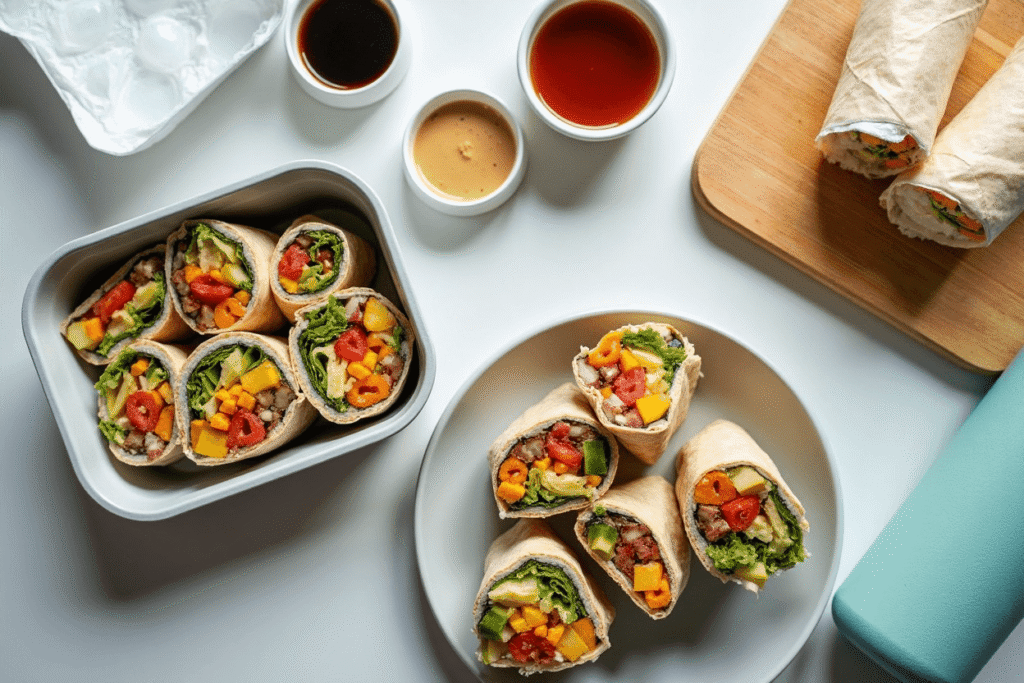
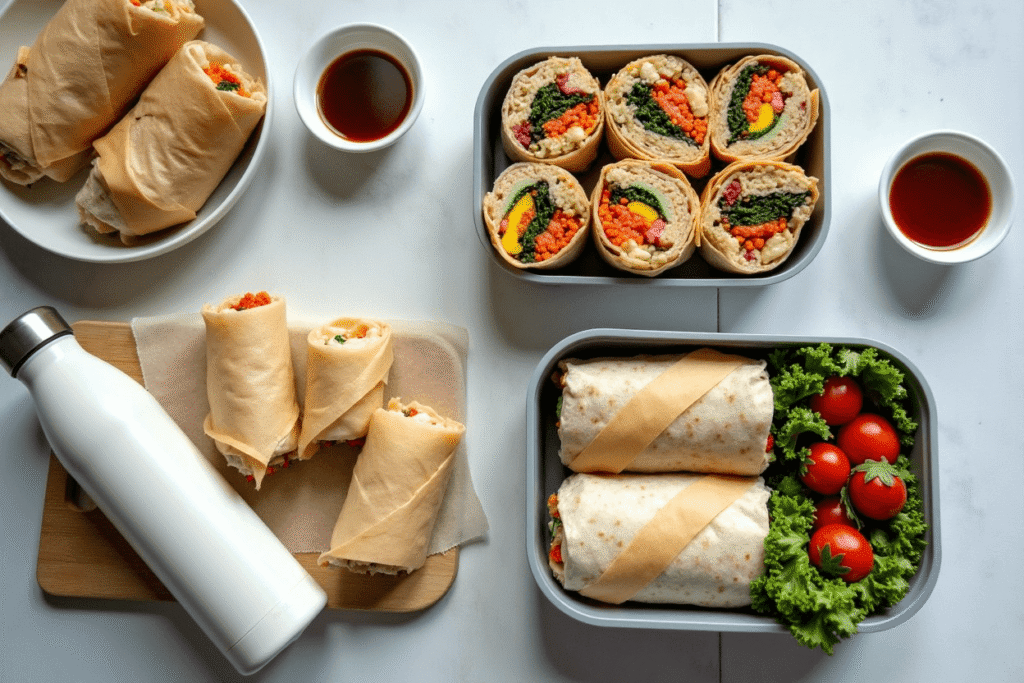
Lunchbox Packing
The sushi burrito is actually a fantastic lunchbox idea because it’s hand-held and mess-free. To pack, leave your burrito unsliced (to keep everything tucked in), or slice it in half and wrap each half tightly in parchment paper or reusable beeswax wrap. Place it in your lunch container with a small ice pack if you’re keeping it for several hours, especially if it has avocado (to keep it cool and fresh). Tuck a small container of soy sauce or extra tahini sauce into your lunch bag — perfect for dipping and giving each bite an extra burst of flavor. When it’s lunchtime, unwrap, dip, and enjoy – no forks required!
Make-Ahead and Freezing
Generally, because this recipe uses fresh raw veggies and nori, it’s not the best candidate for freezing (freezing will change the texture of the veggies and make the nori chewy). However, one component you can freeze is the cooked sushi rice. If you have leftover rice, freeze it in a freezer bag; to use, thaw overnight and reheat gently with a sprinkle of water. For the burrito itself, stick to the fridge and enjoy within a day or two for best results.
With these prep tips, you can easily fit this healthy lunch wrap into a busy week. Assemble right before you head out the door, or prep the parts and roll when you’re ready to eat. As a result, you’ll have a nutritious, energizing lunch that’ll make your coworkers say “Wow, what’s that?!” when they see the rainbow in your lunchbox.
Join the Fun: Share & Connect Over Your Rainbow Veggie Sushi Burrito
Now it’s your turn to roll a rainbow. This Rainbow Veggie Sushi Burrito is fresh, colorful, and way easier than it looks—perfect for a make-ahead lunch or a quick weeknight win. If you try it, tell me how it went and what twist you added (spicy mayo? mango? toasted nori?) in the comments. Got a question? Share it in the comments—I’ll help you perfect every bite.
And don’t forget to share your sushi burrito pics on social media! Show off those gorgeous colors and tag me. You can use our branded hashtag #TaylorRecipe when you post your photos – I’ll be watching for your creations and might even feature some of my favorites. 🤗 In addition, feel free to tag our official account so we can see and celebrate your kitchen wins.
Looking for more vibrant meal ideas? If you loved this, you might also enjoy other nutritious recipes on our site – for instance, you can try our healthy lunch wraps like the Easy Rainbow Veggie Wraps with Hummus and Feta for another dose of color and flavor. Also, check out our quick vegetarian dinner recipes such as the Mediterranean Quinoa Salad for an easy weeknight meal that pairs perfectly with your lunch adventures. (Because who says eating healthy can’t be fun and delicious, right?) taylorrecipe.com taylorrecipe.com

Finally, thank you so much for stopping by Taylor’s Kitchen and cooking with me! Until next time – happy rolling, happy eating, and remember to eat the rainbow. 🌈❤️